Arduino Lilypad
A Wearable Arduino
The original Arduino was rectuangular, somewhat scary looking, and over 1cm high, and had spiky parts. Not something you want to sit on.
In 2009 MIT Professor Leah Buechley designed the Arduino Lilypad, which is friendly, round, thin and intended to be incorporated into textile and wearable projects.
It’s ideal for smart clothing, jewelry and cosplay. Some models have built-in battery chargers.
Resources
- Arduino LilyPad Arduino
- Sparkfun - Lilypad Sewable Electronics
- Sparkfun - Getting started with Lilypad
- Sparkfun - All Lilypad articles
- Pearl Chen - Introduction to lilypad
- Peggy Fisher - Sewing for wearable tech
- Sparkfun - Lilypad Basics - e Sewing
- Becky Stern - Conductive thread tips
- Becky Stern - How to sew the perfect neopixel circuit
Lilypad Modules
These modules are designed to be sewn into clothing and connected together using stainless-steel conductive thread.
These Lilypad modules are all washable (gentle hand wash only). You should remove any batteries before washing.
Compute modules
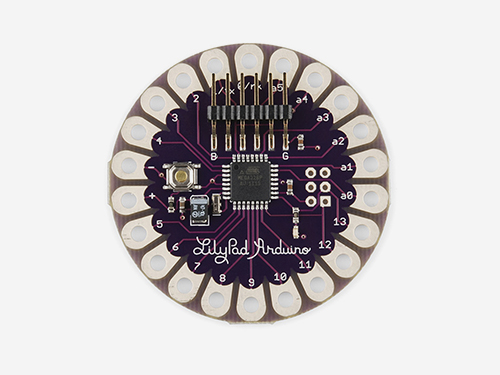
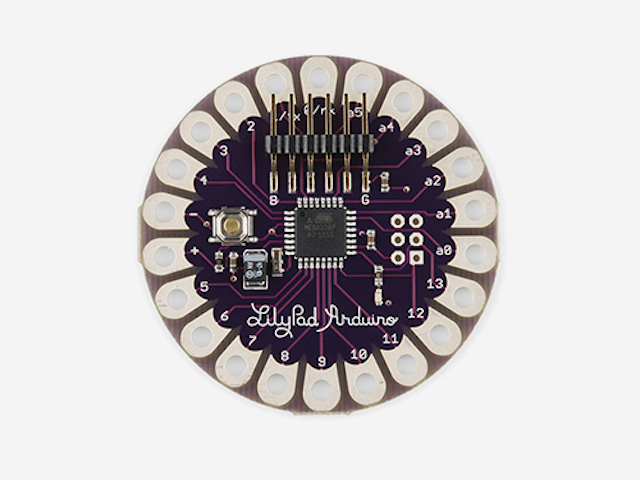
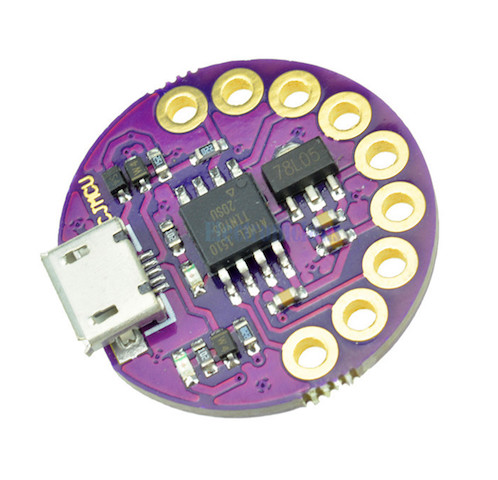
The Original Lilypad computer has all of the Arduino’s 20 input/output pins available as sew-on points. It requires an external USB-to-serial adapter.
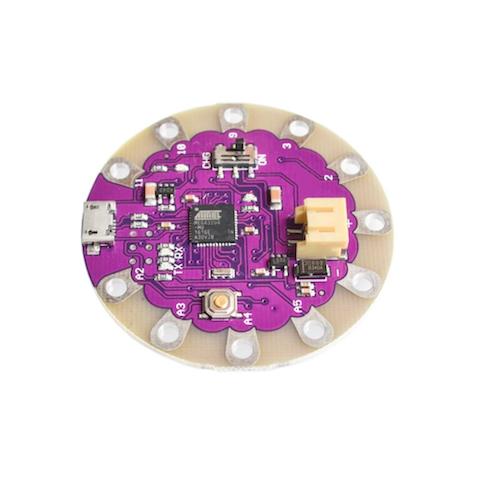
The Lilypad USB is a simplified sewable computer. It has built in USB, and also a built in battery charger.
The Tiny Lilypad is smaller and cheaper. It has limited memory size so may not be big enough to fit complex programs.
Power modules
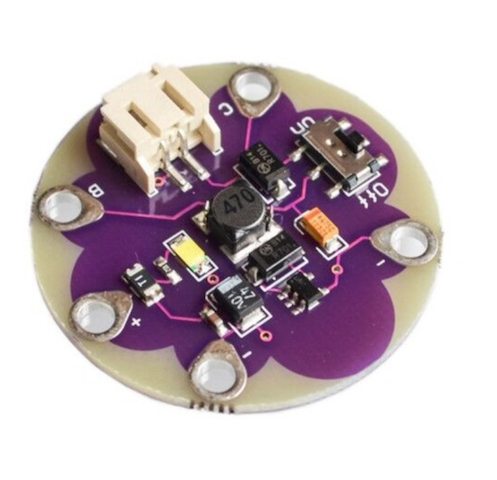
This AAA Battery Module holds a 1.5V AAA cell. The module contains a circuit to convert the 1.5 Volts from the cell to 5 Volts.
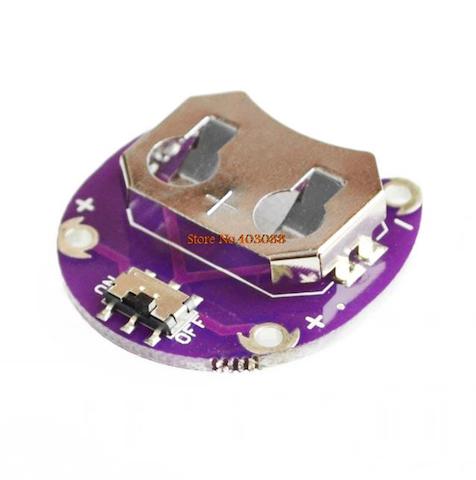
This Button Cell holder accepts a 3.2V “CR2032” lithium button cell. It has no conversion circuit, so you need to use a computer that can work on 3.3 Volts.
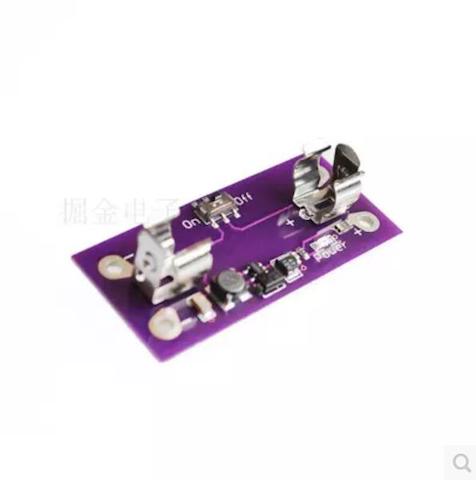
This Lithium battery module connects to a 3.7V lithium poylmer cell. It converts the battery voltage to 5Volts, but requires a separate battery charger.
Connections
Alligator leads are useful for temporary connections while testing out a circuit idea.
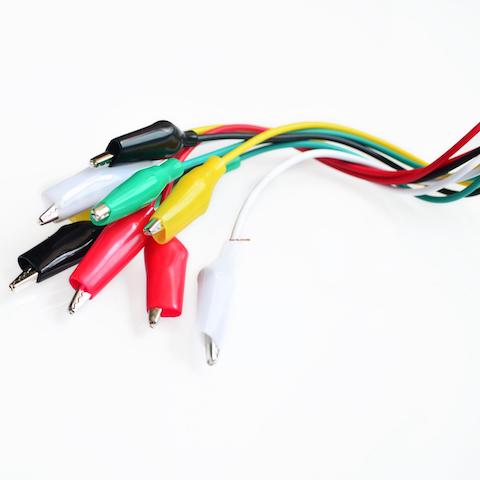
For permanent connections Conductive Thread is used.

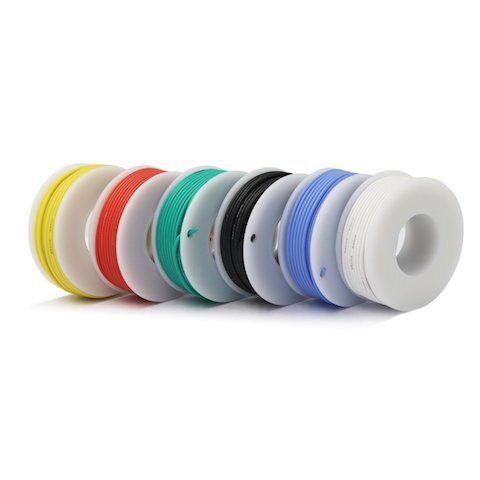
Silicone insulated wire is more flexible than normal PVC-insulated wire, and is ideal for permanent soldered connections in wearable electronics.
Input modules
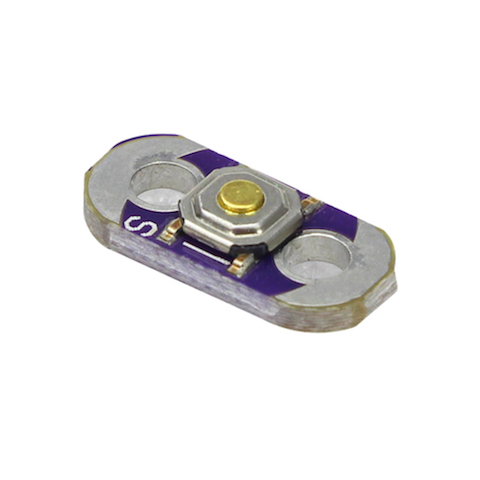
This is a momentary action pushbutton. It connects the two sides
only when the button is pushed. To use as an input, connect one side
to Ground, and the other side to an input pin that has been configured
as INPUT_PULLUP in your Arduino program.
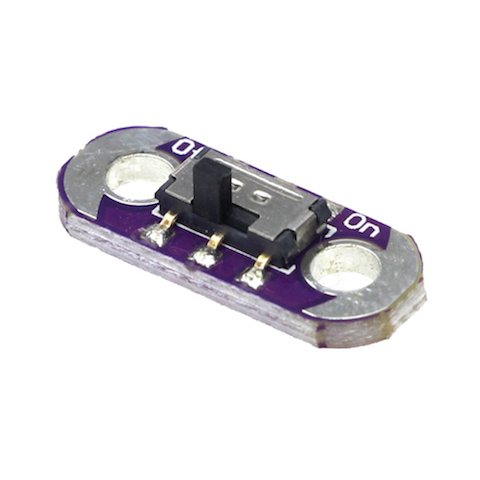
This is a slide switch, it can be used as an input in the same way as pushbutton, or it can be used to switch power to other components.
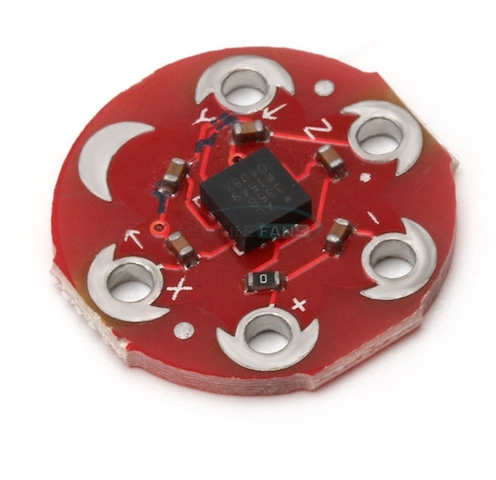
This is a three-axis acceleromenter (tilt sensor). Its inputs are power and ground. Its outputs are three analog voltages between 0 and 5v. If you connect one or more outputs to Arduino’s analog input pins, you can measure the orientation of the sensor to detect movement, tilting or shaking.
This Light sensor measures light levels. It can be used to make garments light up only in dark places.

Output modules
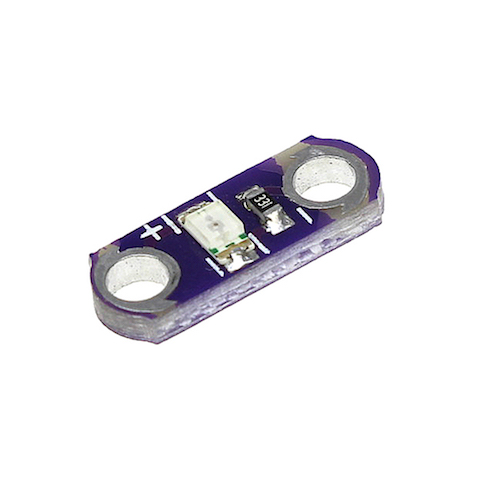
This module contains a Light-Emitting Diode and a resistor to limit the brightness (it would burn out without the resistor). These can be connected directly to power and ground, or you can connect the negative side to ground and the positive side to any output pin on the Arduino.
The NeoPixel (formally, the WS2812 addressable LED) is an intelligent device that can be set to any colour and brightness. They don’t work without a computer, you need a special NeoPixel library to control them. You can string many neopixels together by connecting them all to power and ground, connecting your Arduino to the input of the first pixel, and then connecting the output of the first pixel to the input of the second pixel, and so on.). NeoPixels are available in singles, rings, and strips.
![]()
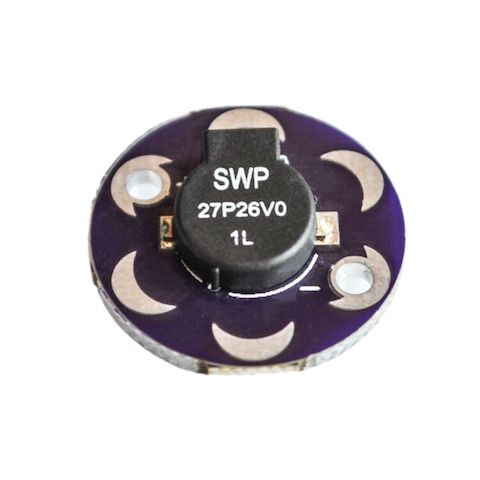
This Buzzer is a small speaker that can play tones or clicks. To
use it, connect it to an arduino output pin and use the tone()
function to play sounds.