Project - A weather station with rain alarm
Overview
We are going to build a weather station that can alert you when rain arrives (hopefully in time to save your washing). It also measures outside temperature and humidity.
We will use the Wemos D1 IoT modules, which use the popular ESP8266 WiFi system-on-chip.
Information and alerts are delivered to your iPhone or Android via the Blynk app.
Parts
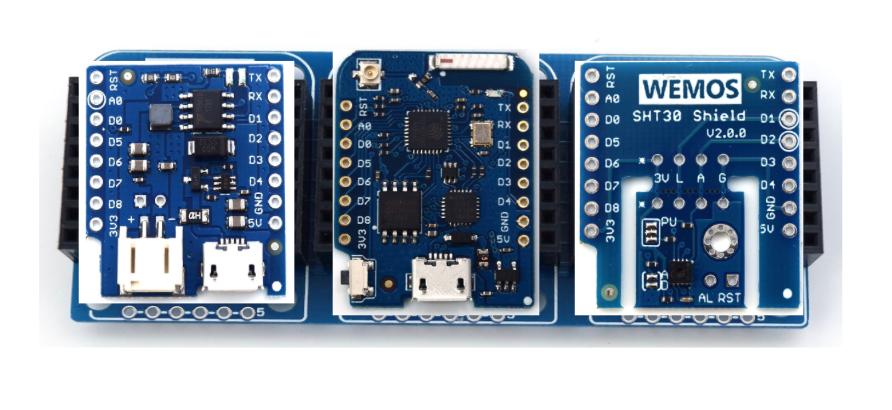
You kit of parts contains
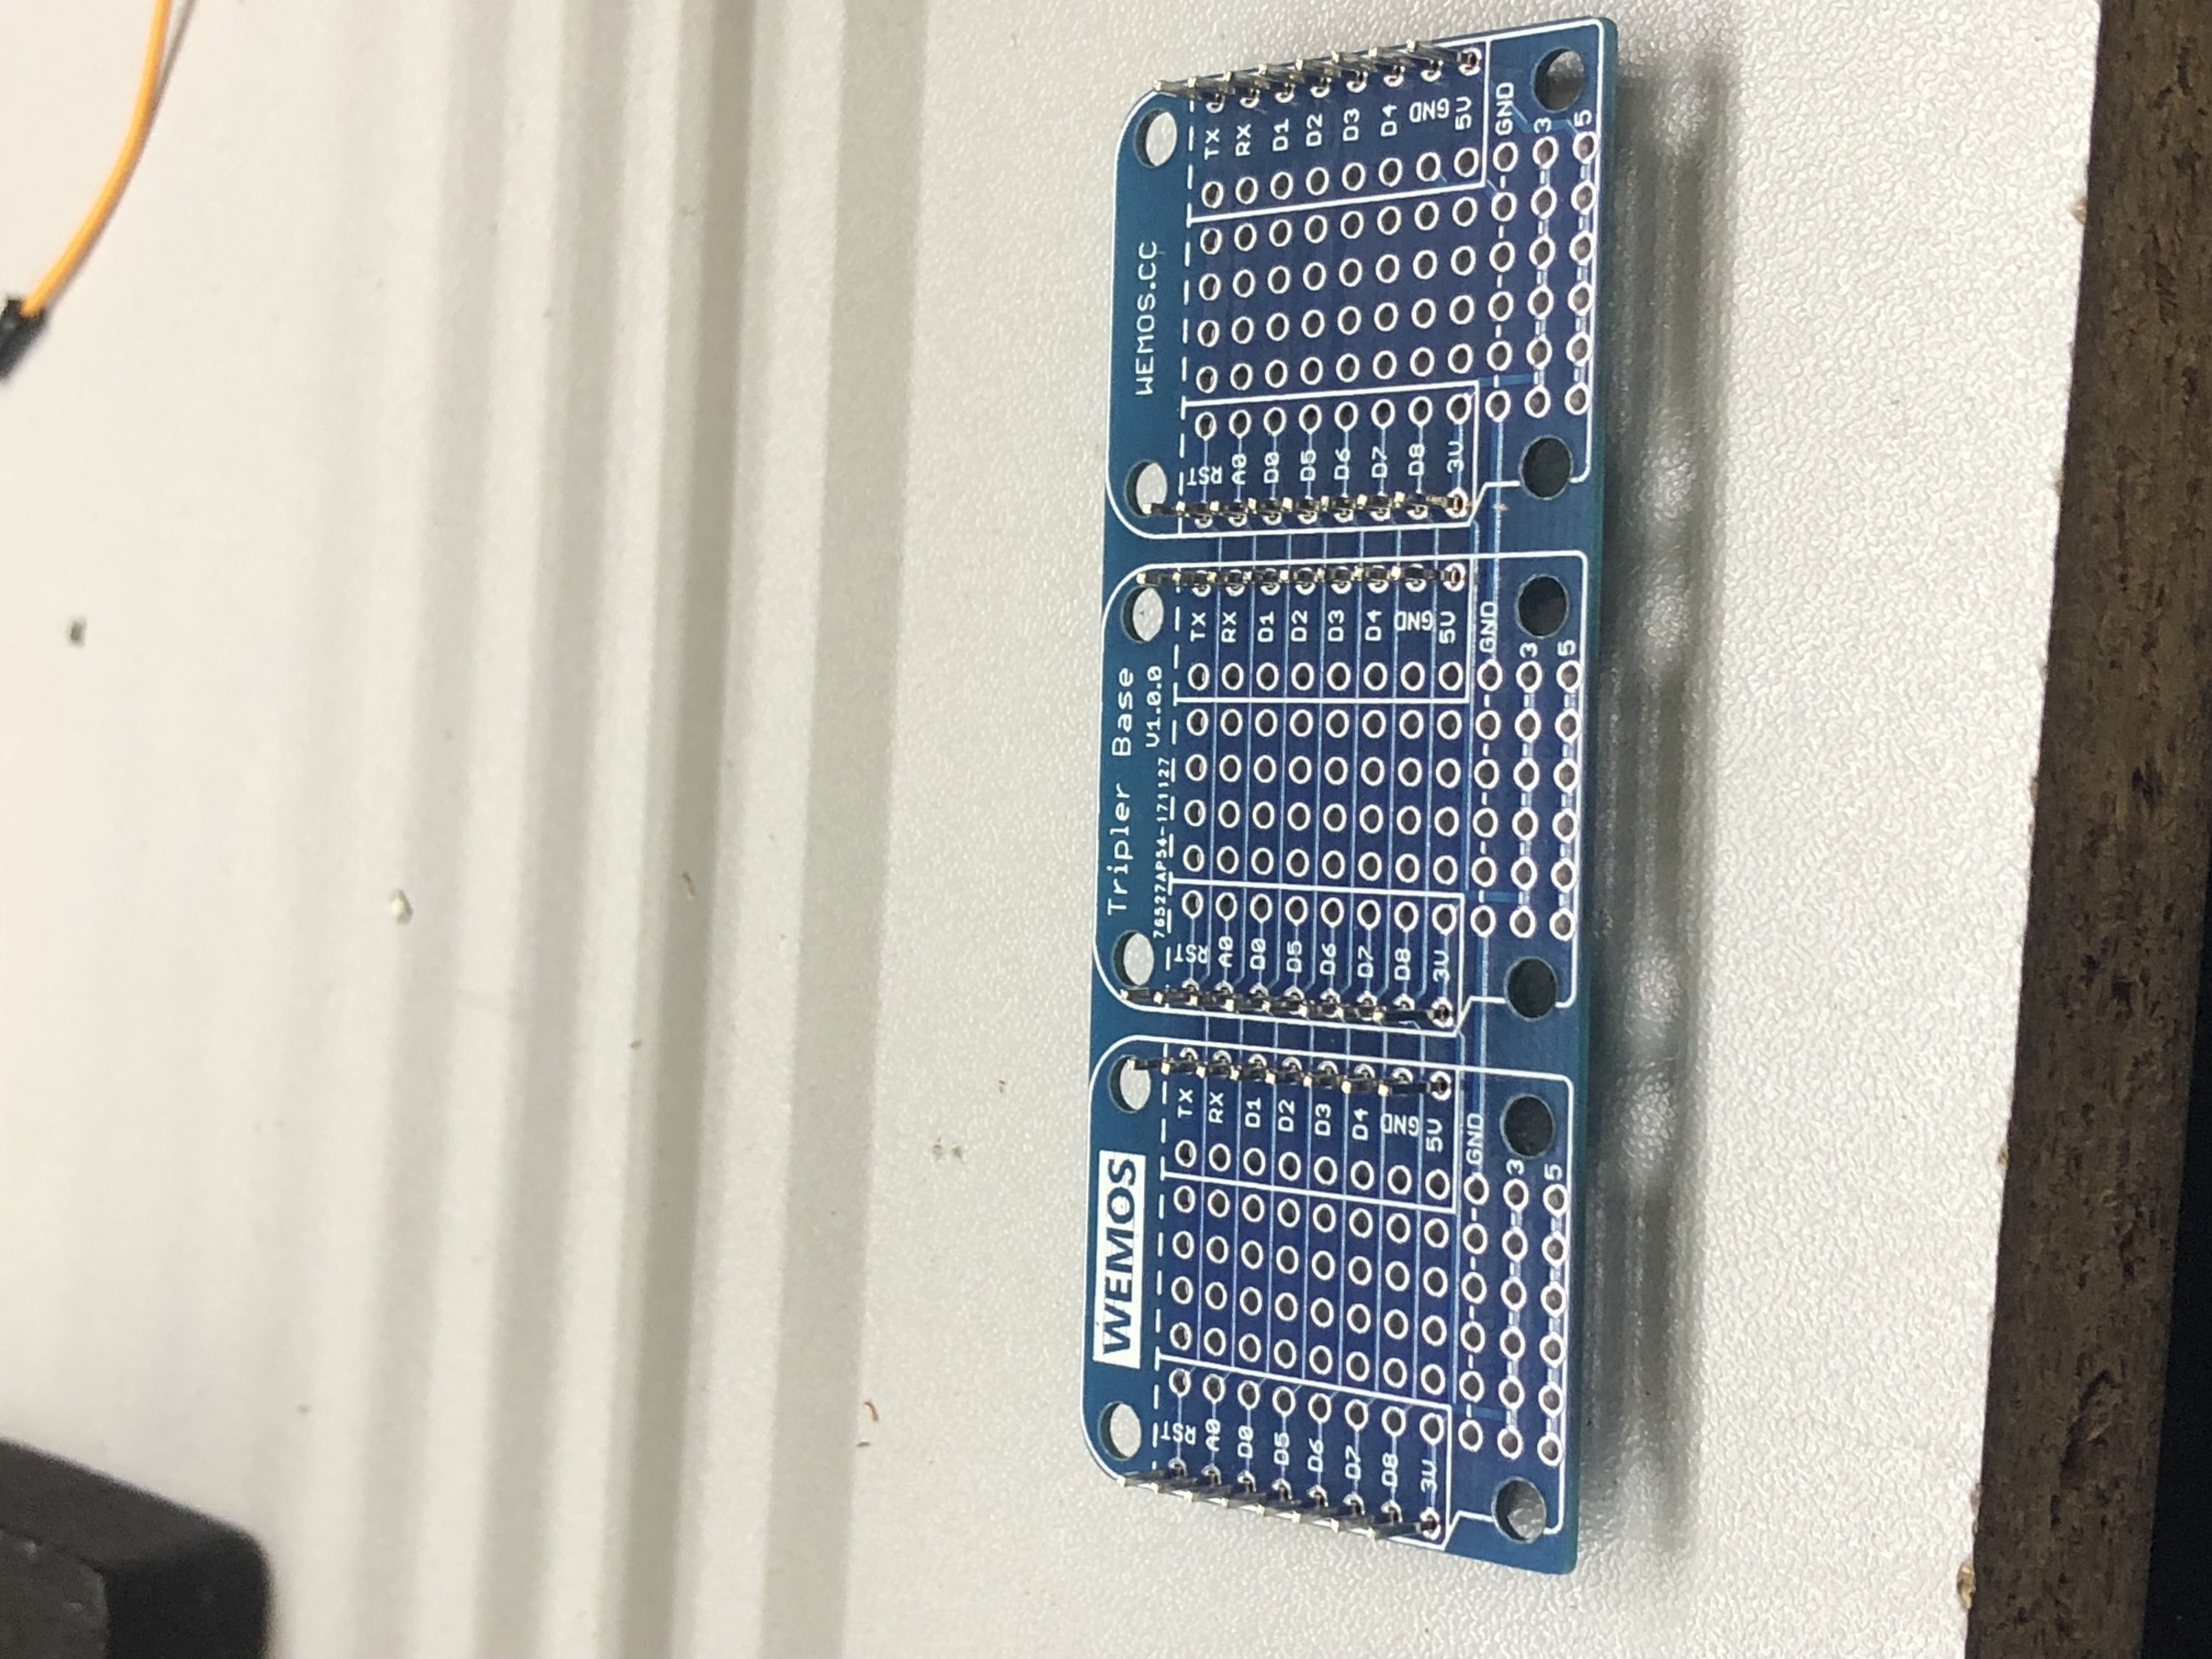
- Triple Base
- Brain module
- Battery charger module
- Temperature sensor module
- Rain sensor
- Lithium-polymer battery
- Solar Cell
- Jumper cables
Don’t Panic
The parts go together like this, but DONT PANIC.
These connections look complicated, but fortunately you won’t even have to do most of them!
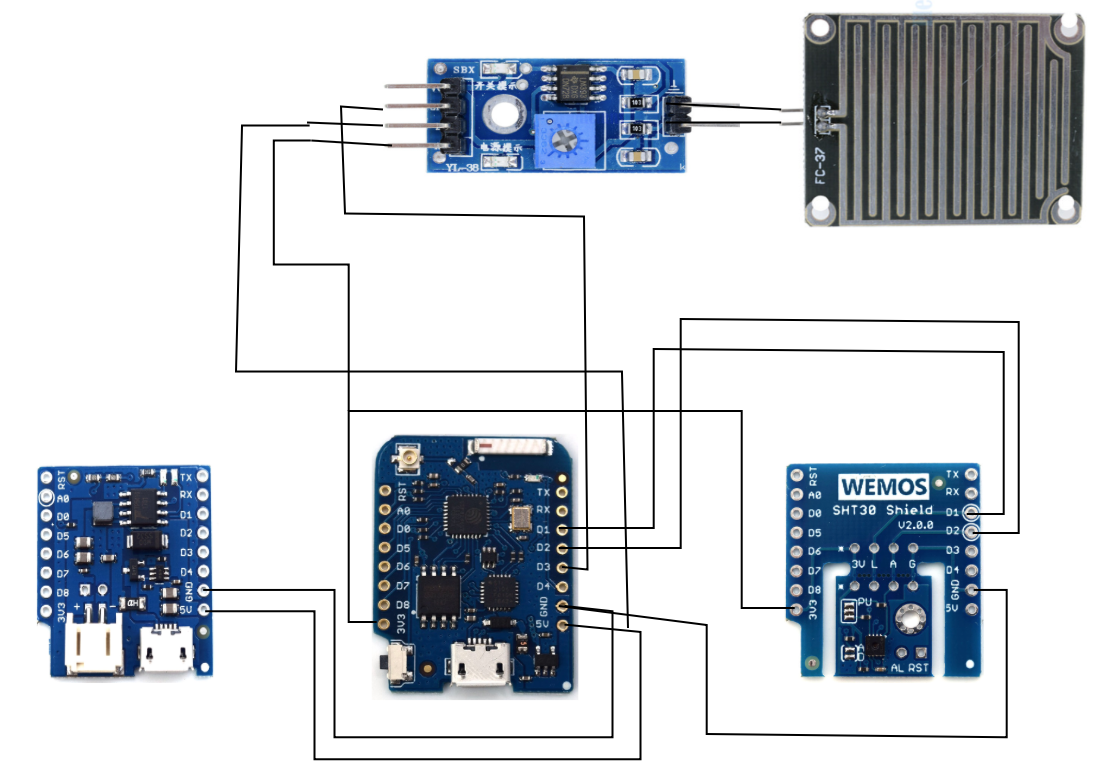
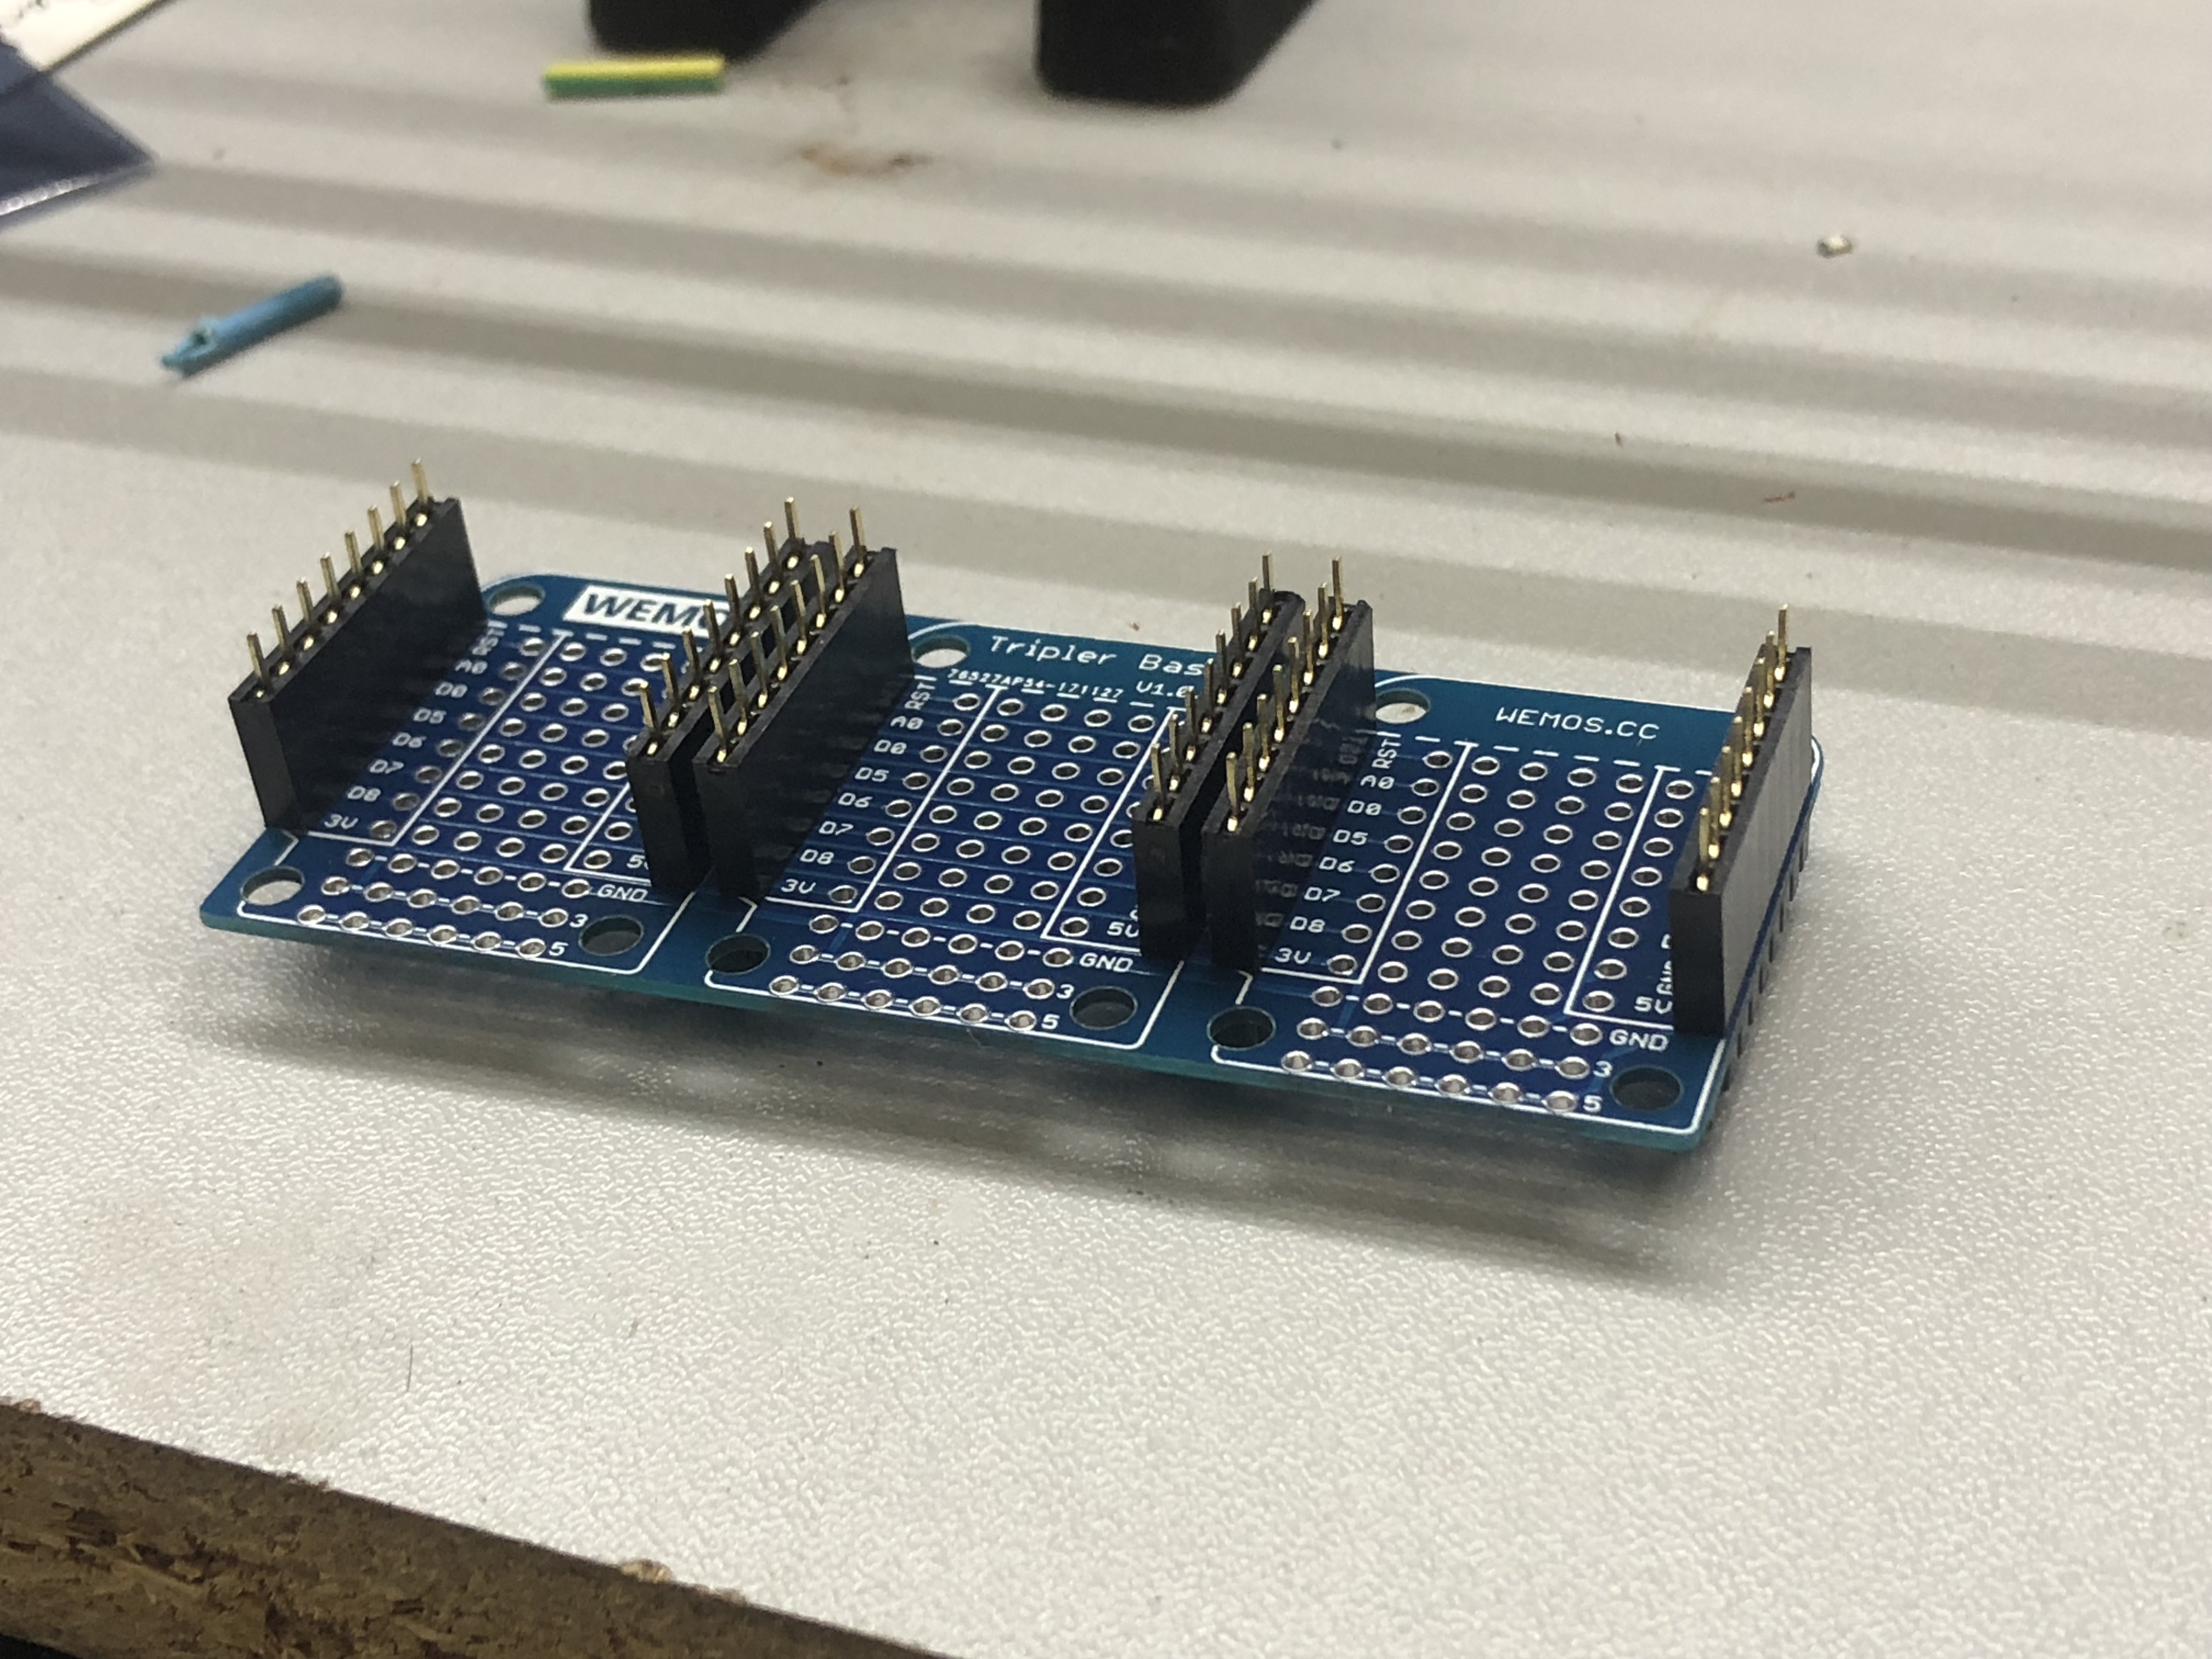
Triple base arrangement
Using a triple-socket base module, we simply attach the modules together and most of the wiring is done.


Preparing software
- Install “Blynk” app (https://blynk.cc) on your Android or iPhone.
- Install CP210x USB virtual-serial-port drivers from the link here
- Install “mos”, the Mongoose-OS development tool on your PC or Mac
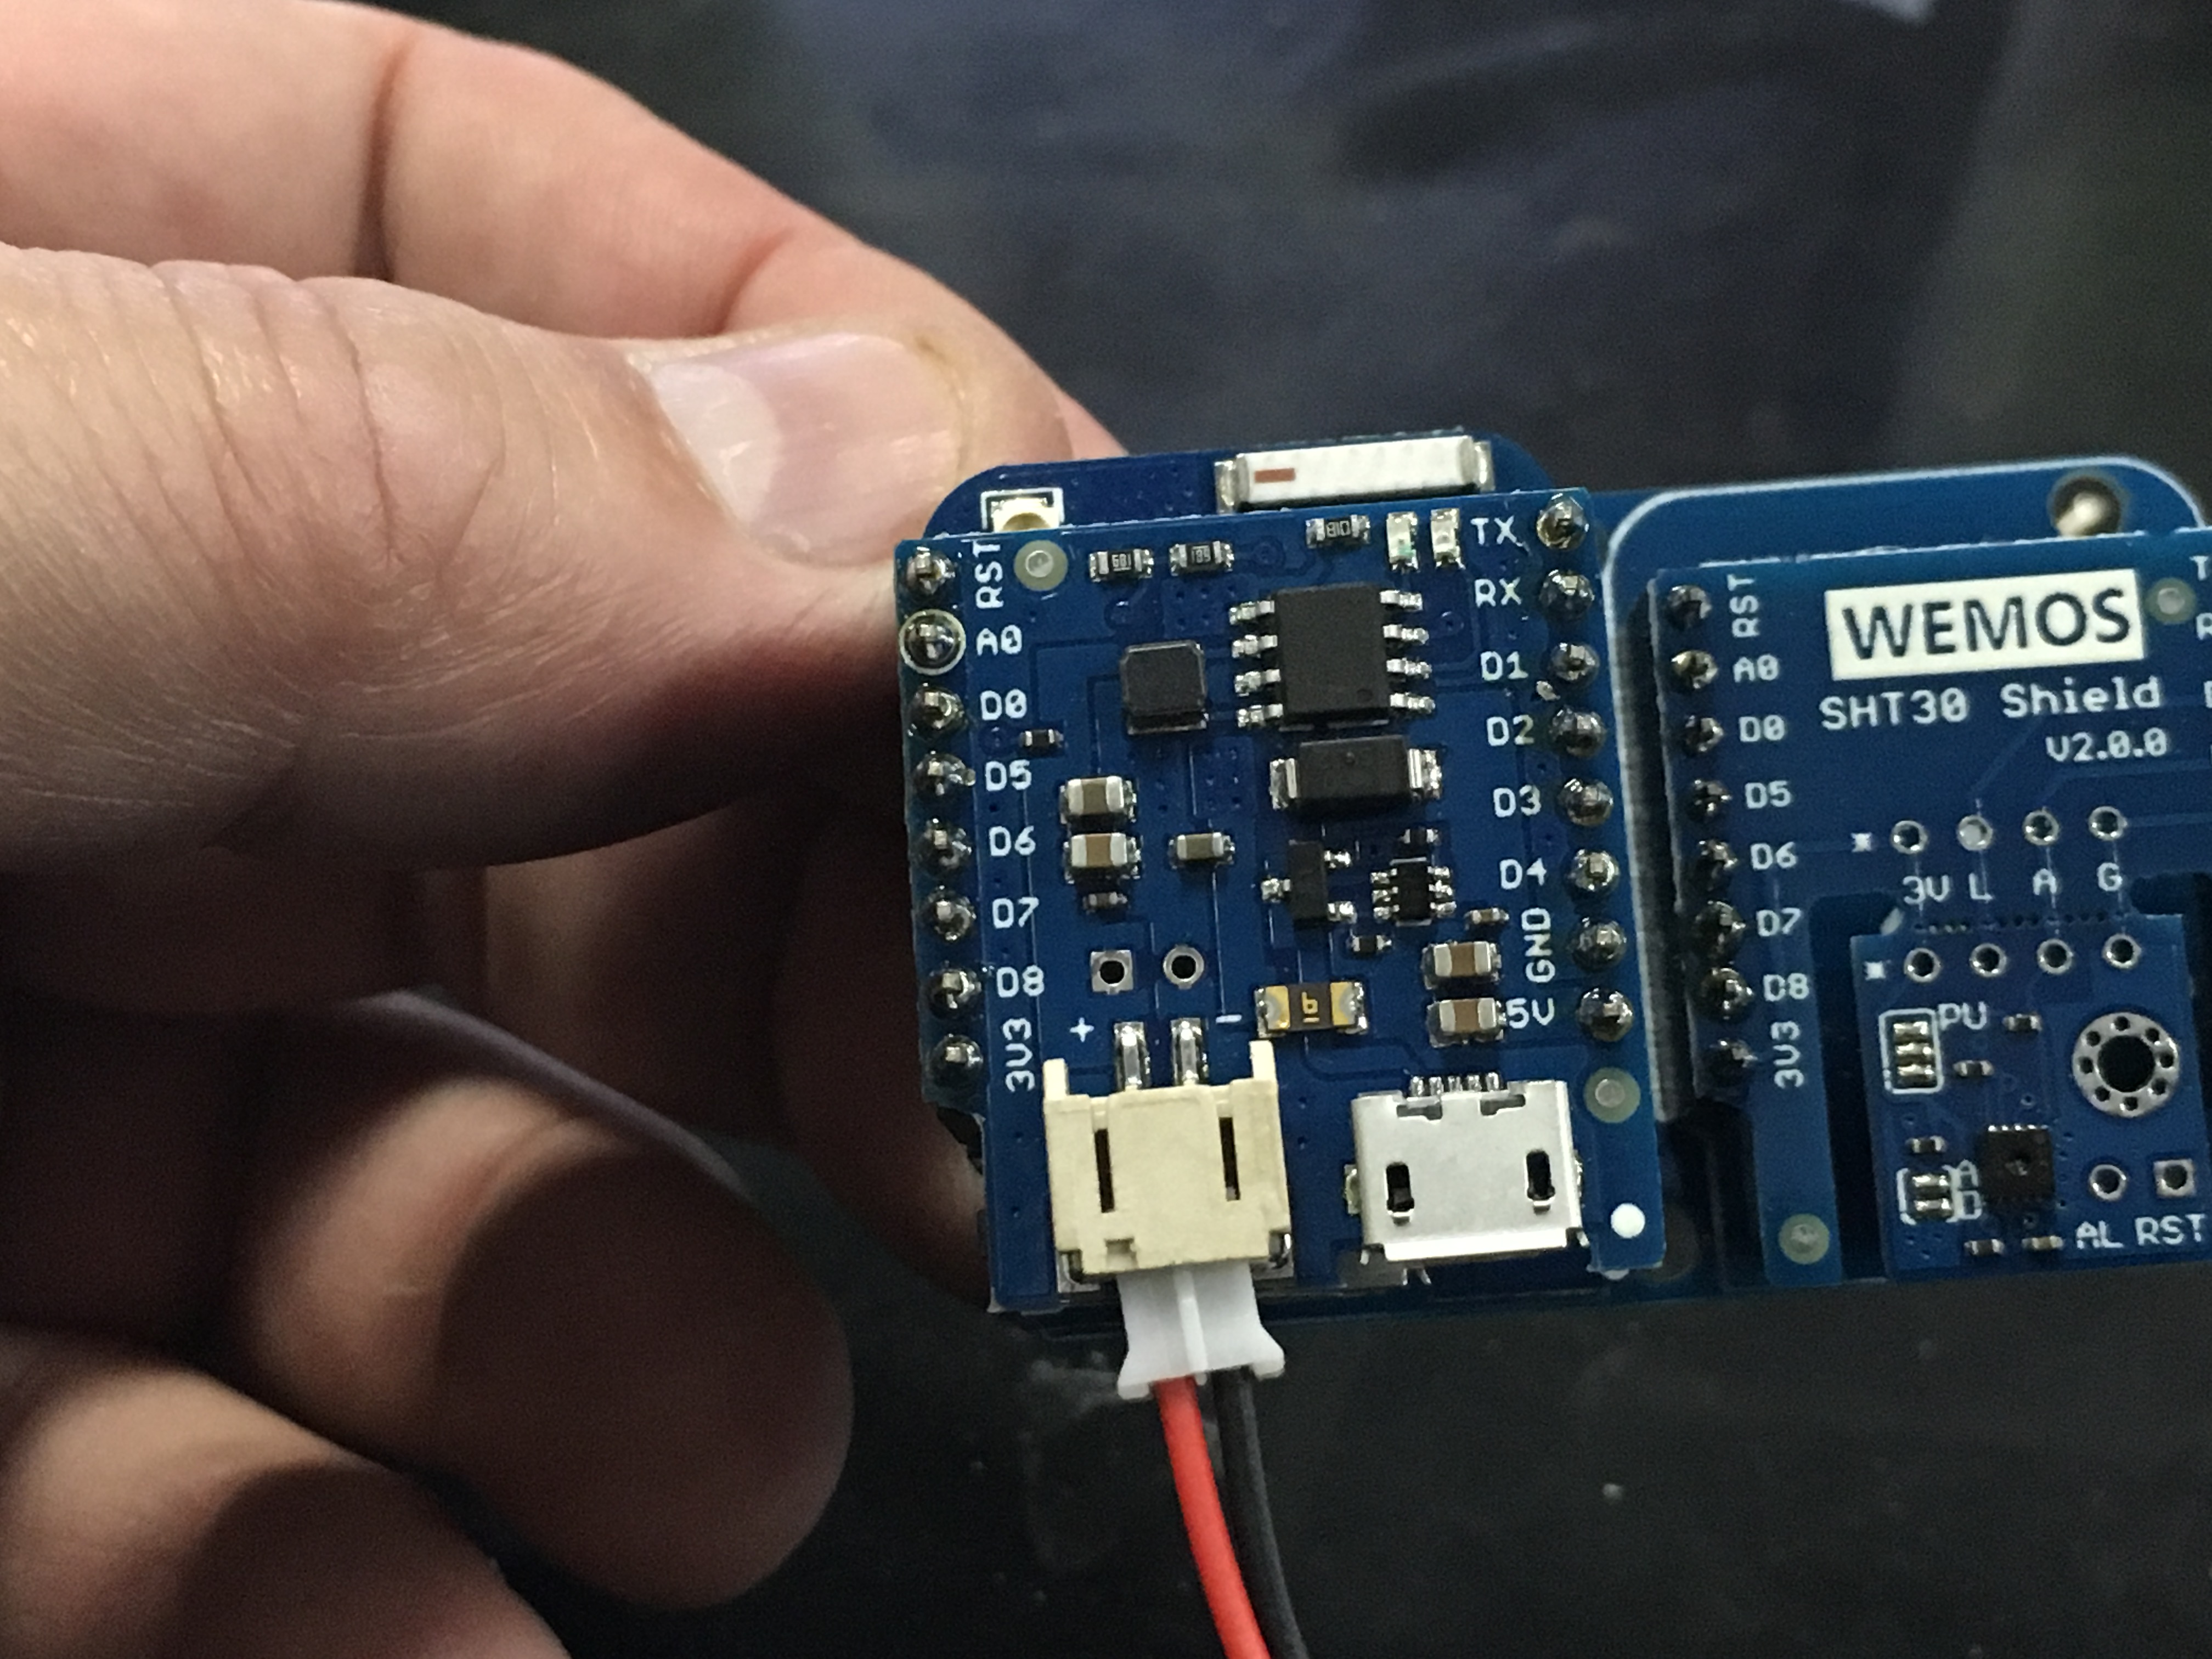
Preparing the modules
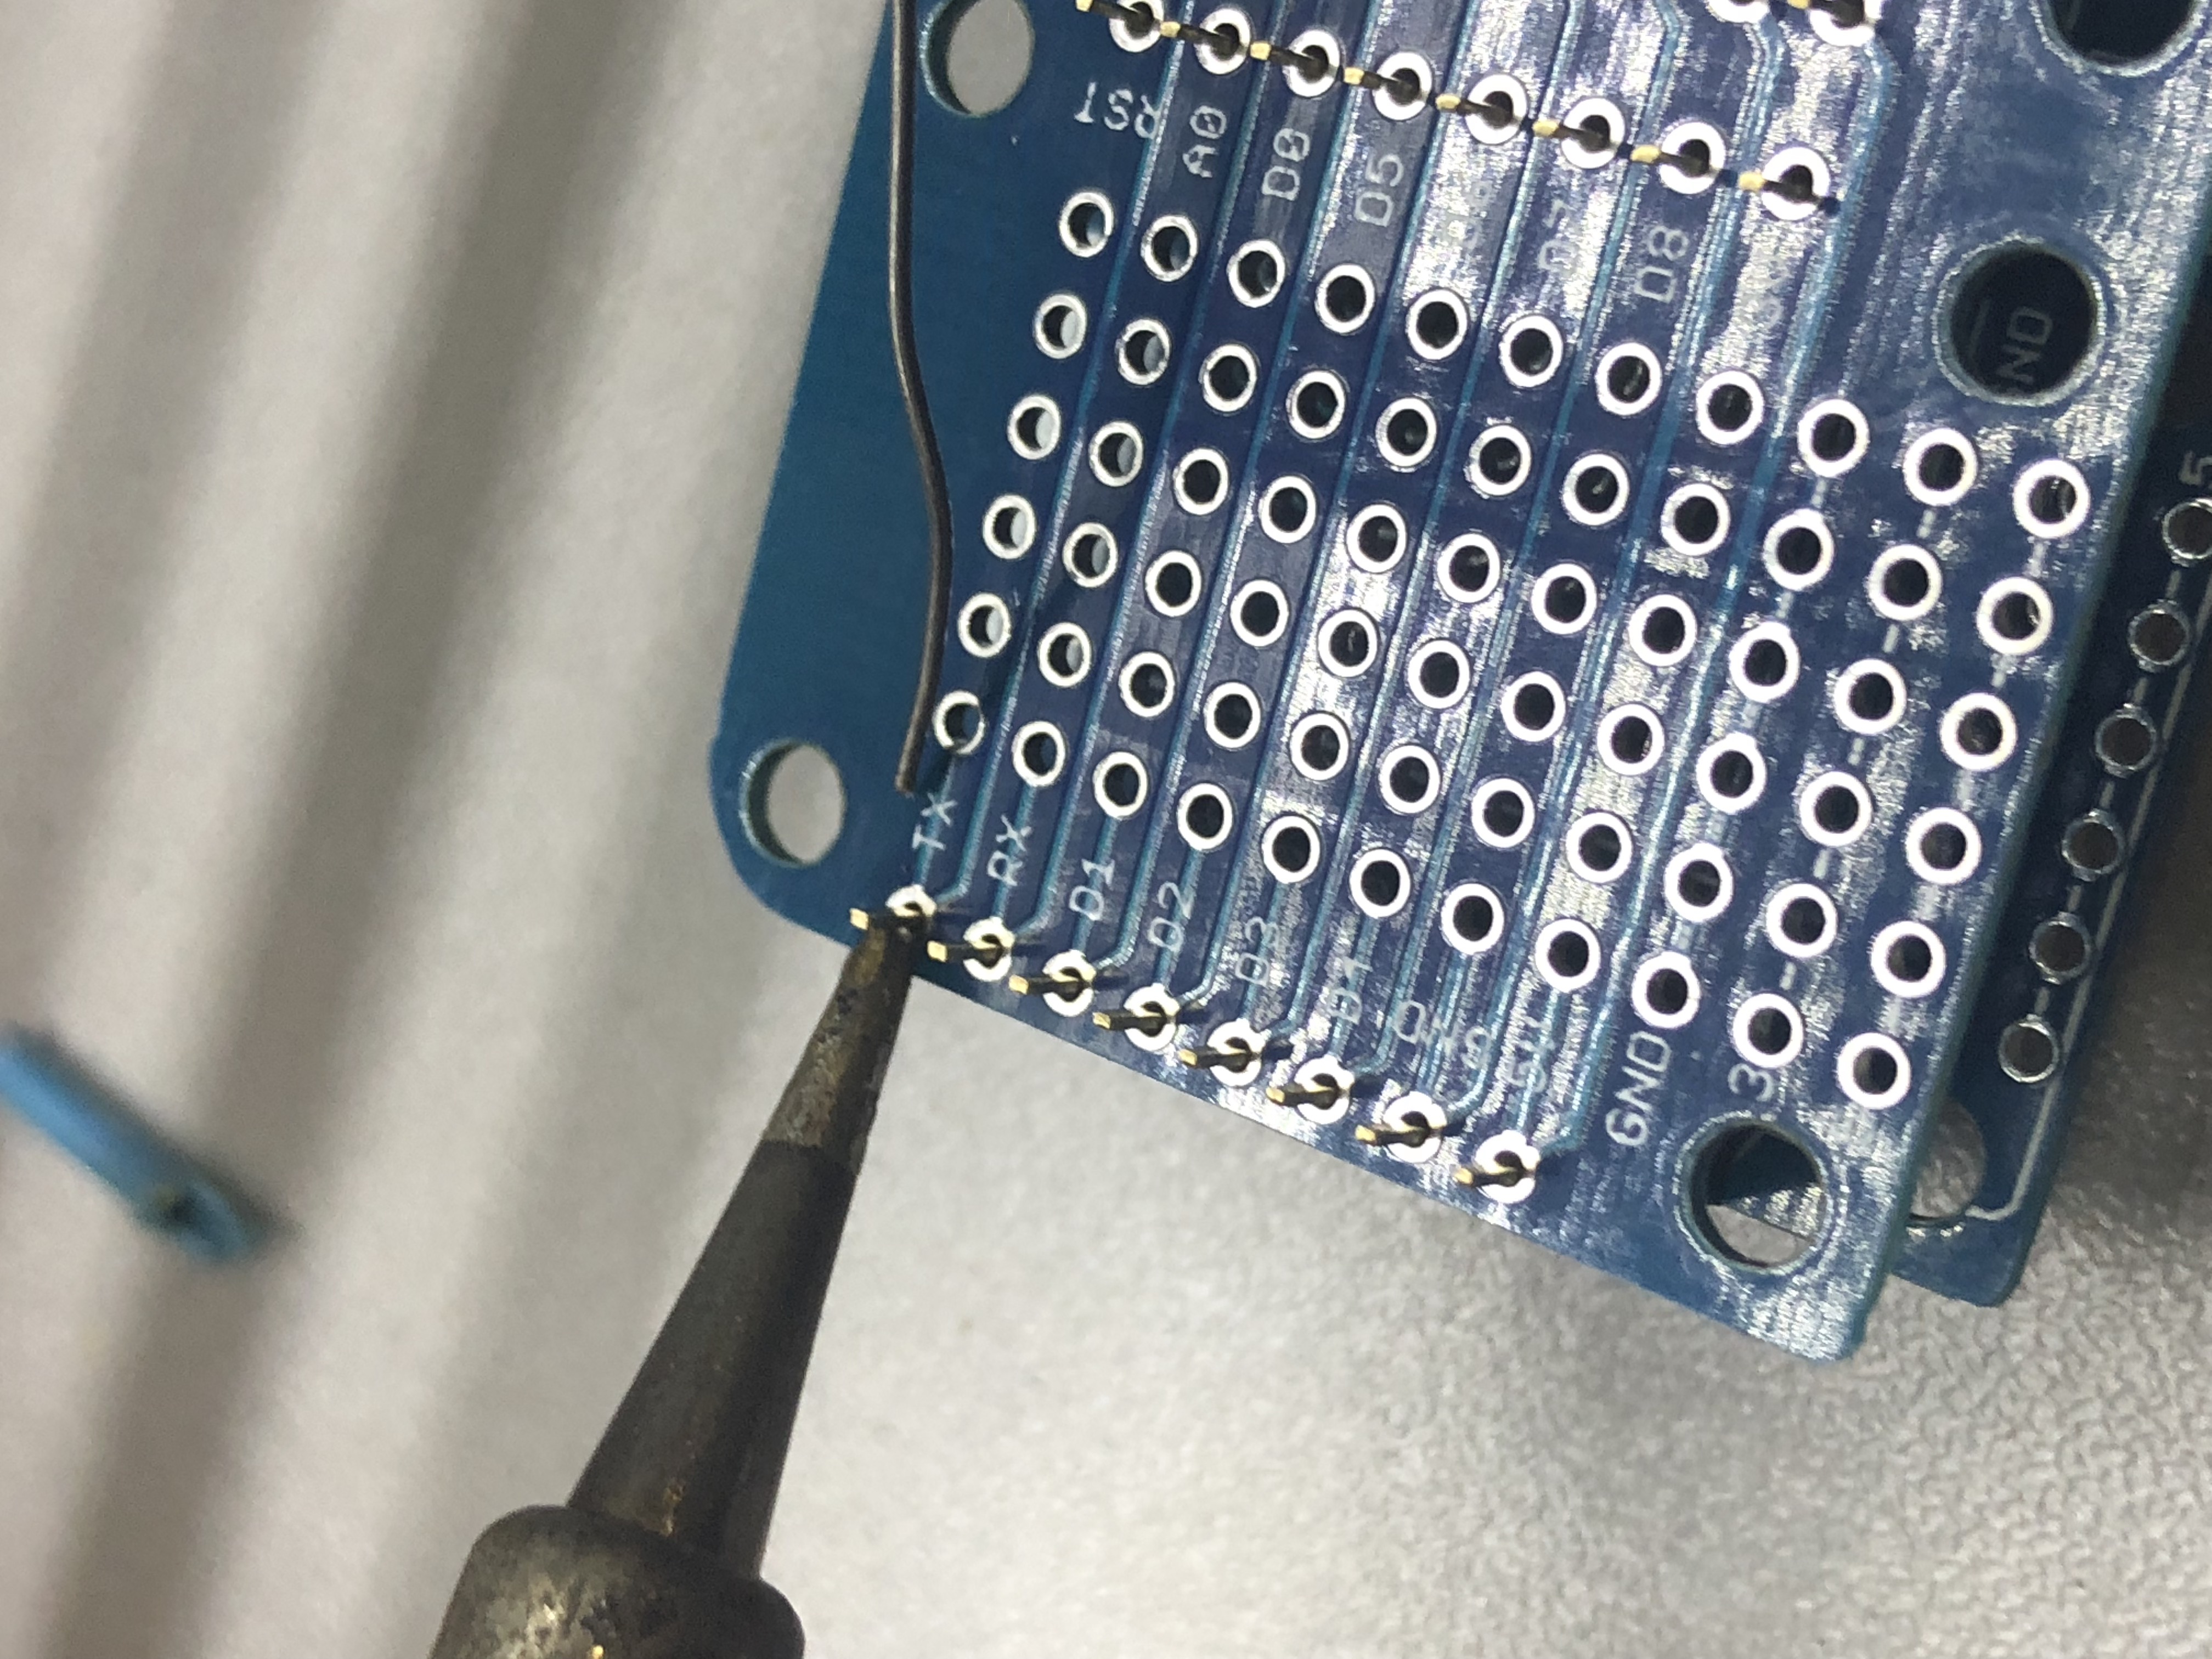
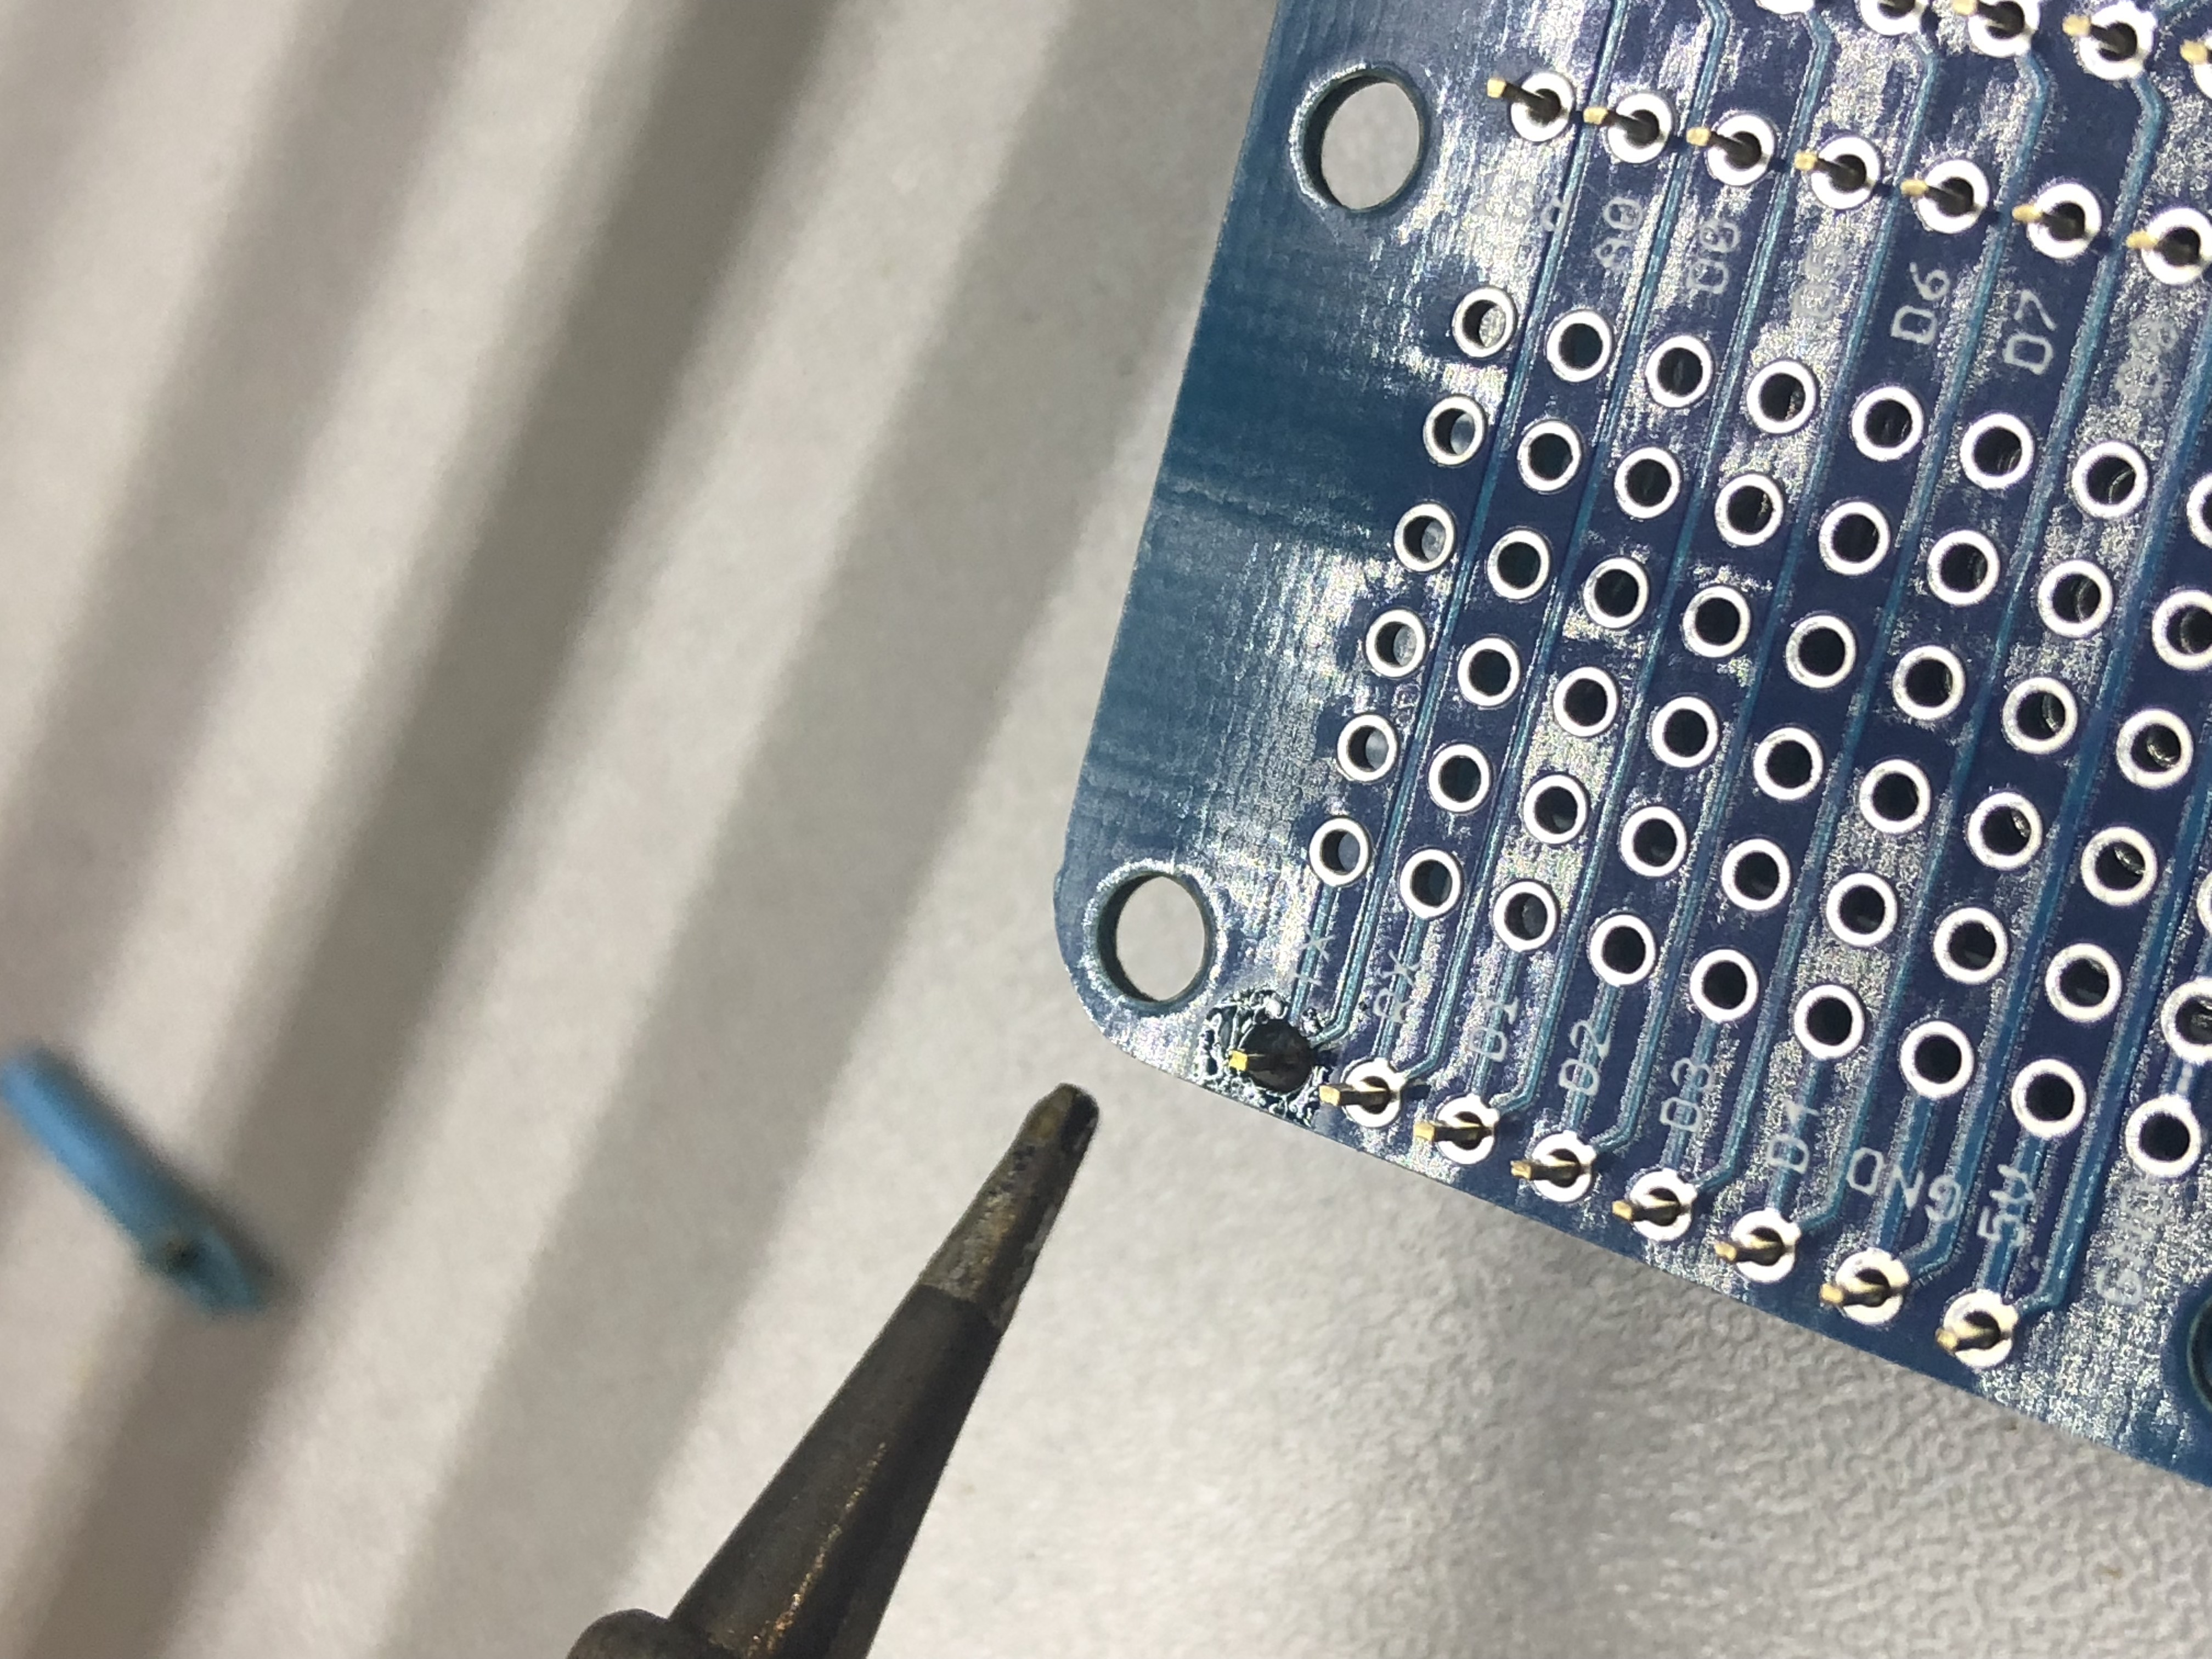
- Solder sockets to the top of the triple module
- Solder stacking headers to the brain module (sockets up, pins down)
- Solder pins to the bottom of the temperature module
- Solder pins to the bottom of the battery module

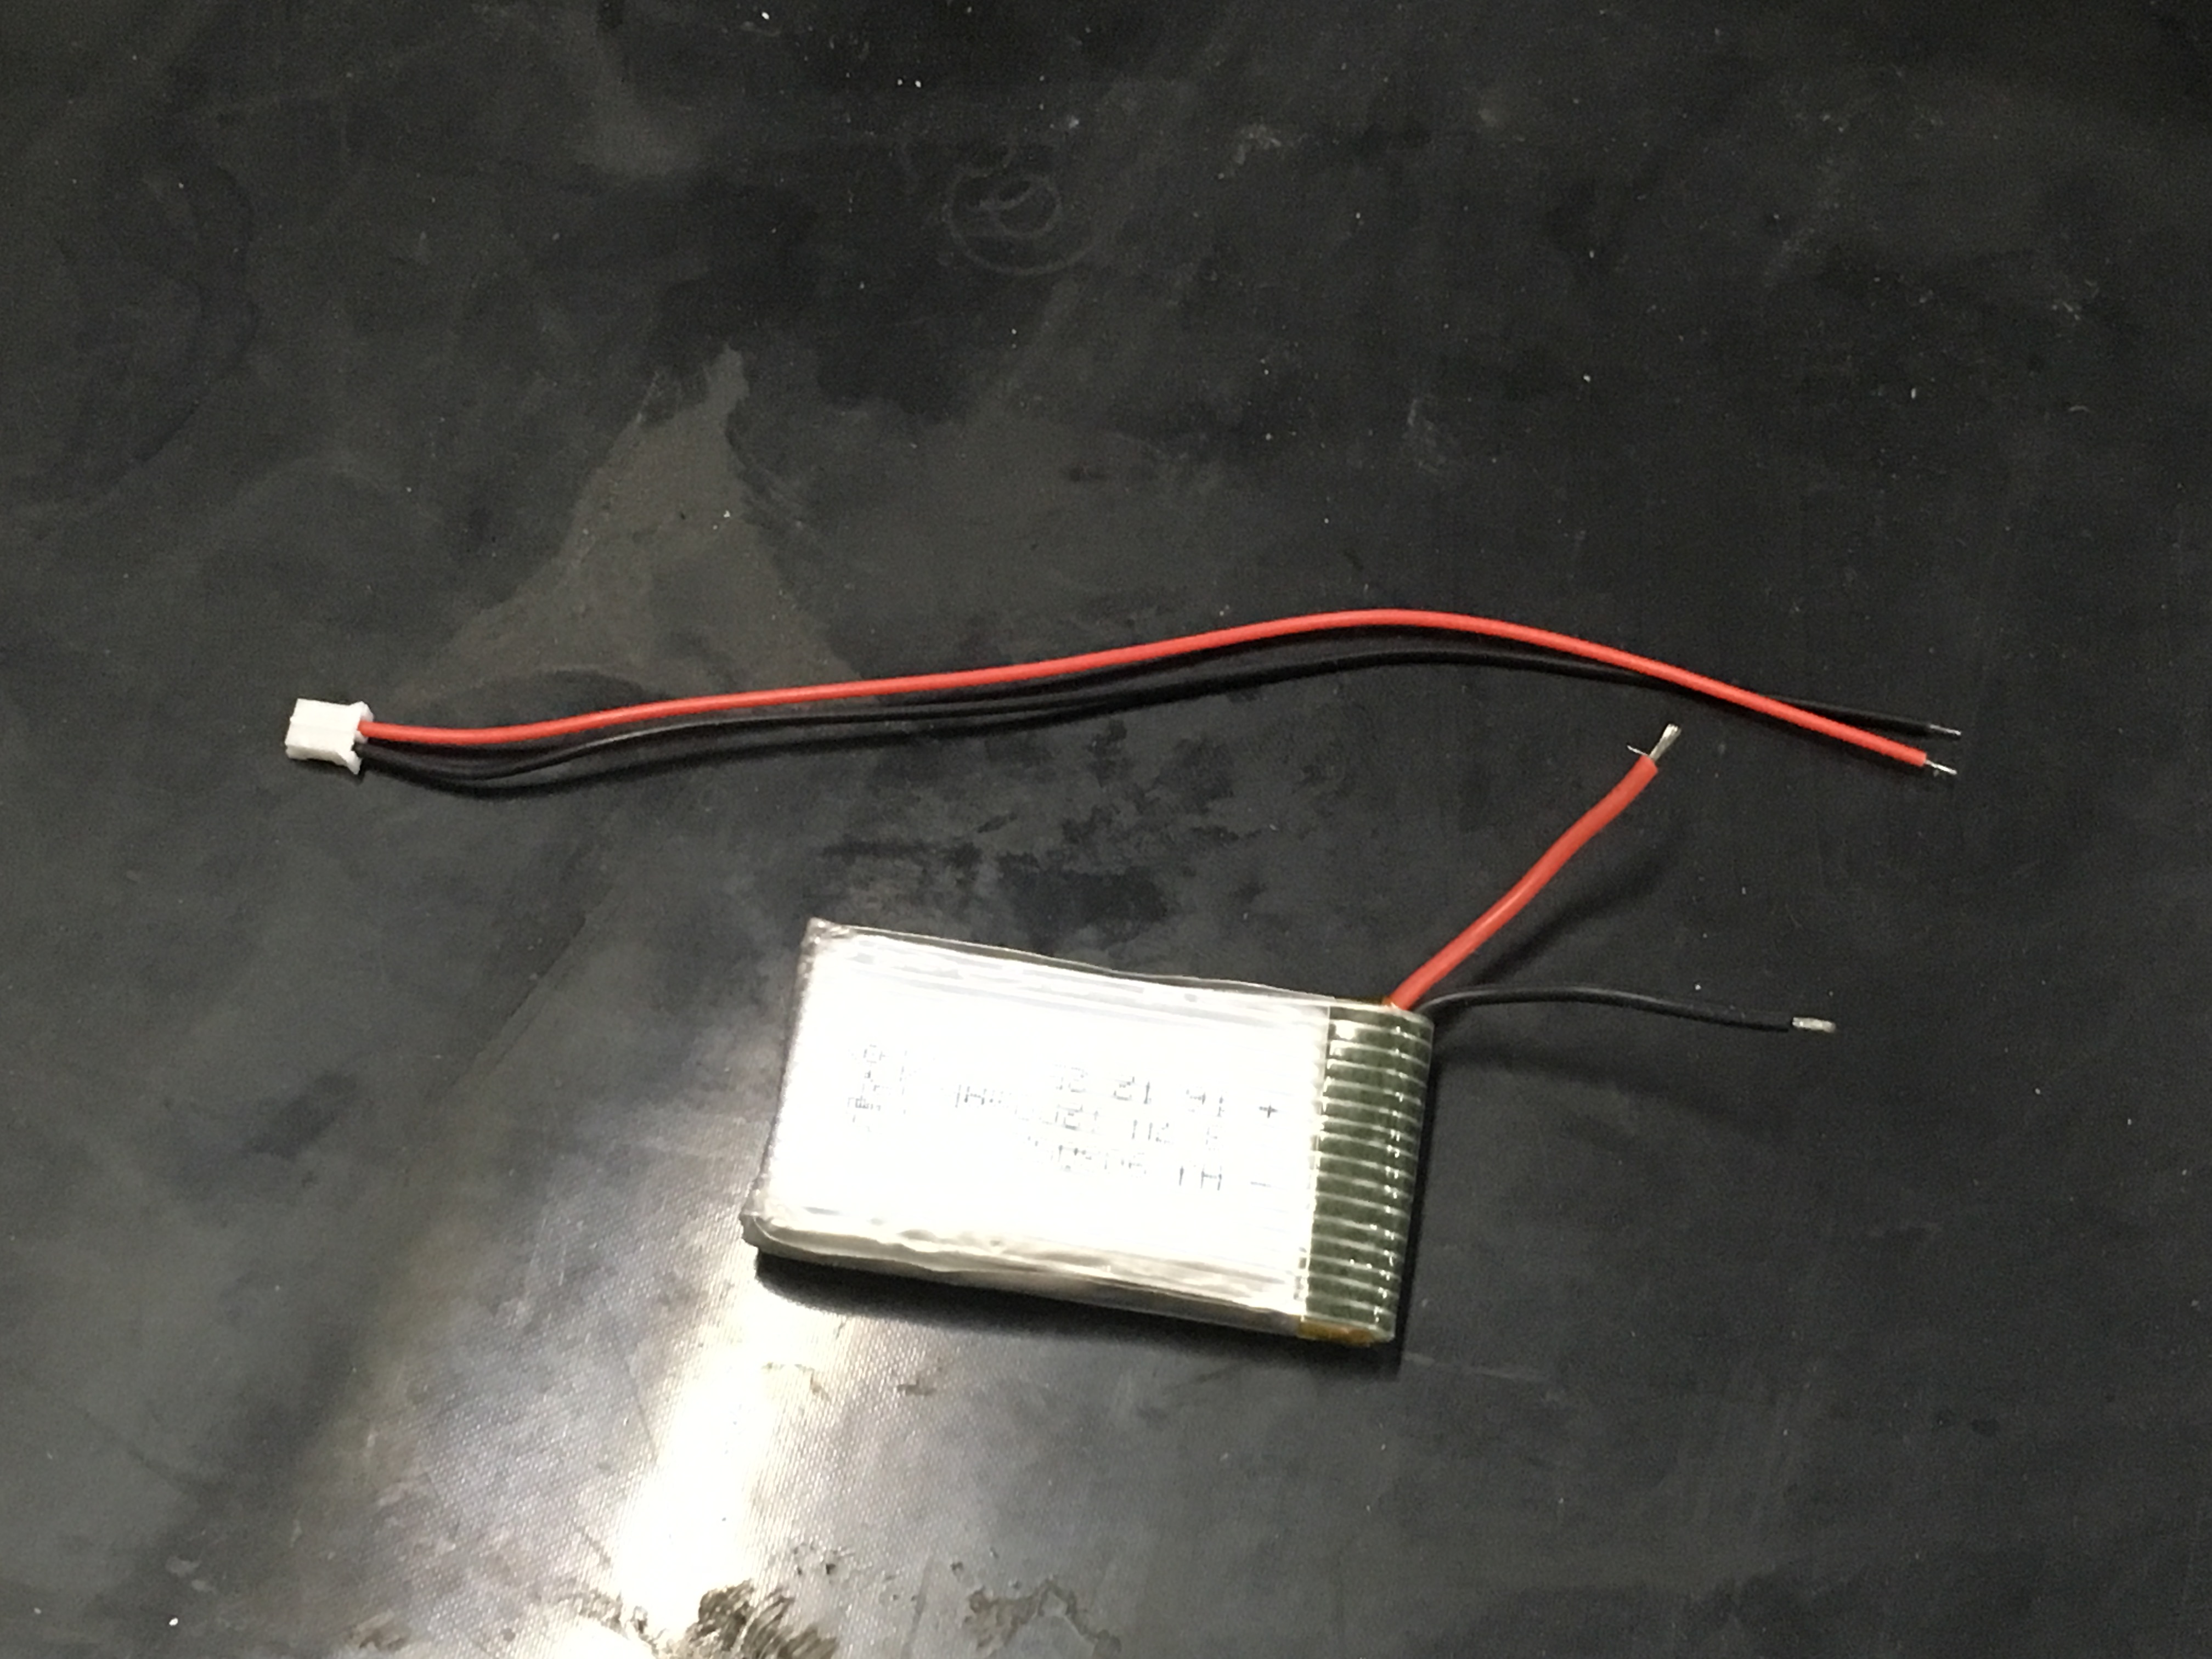
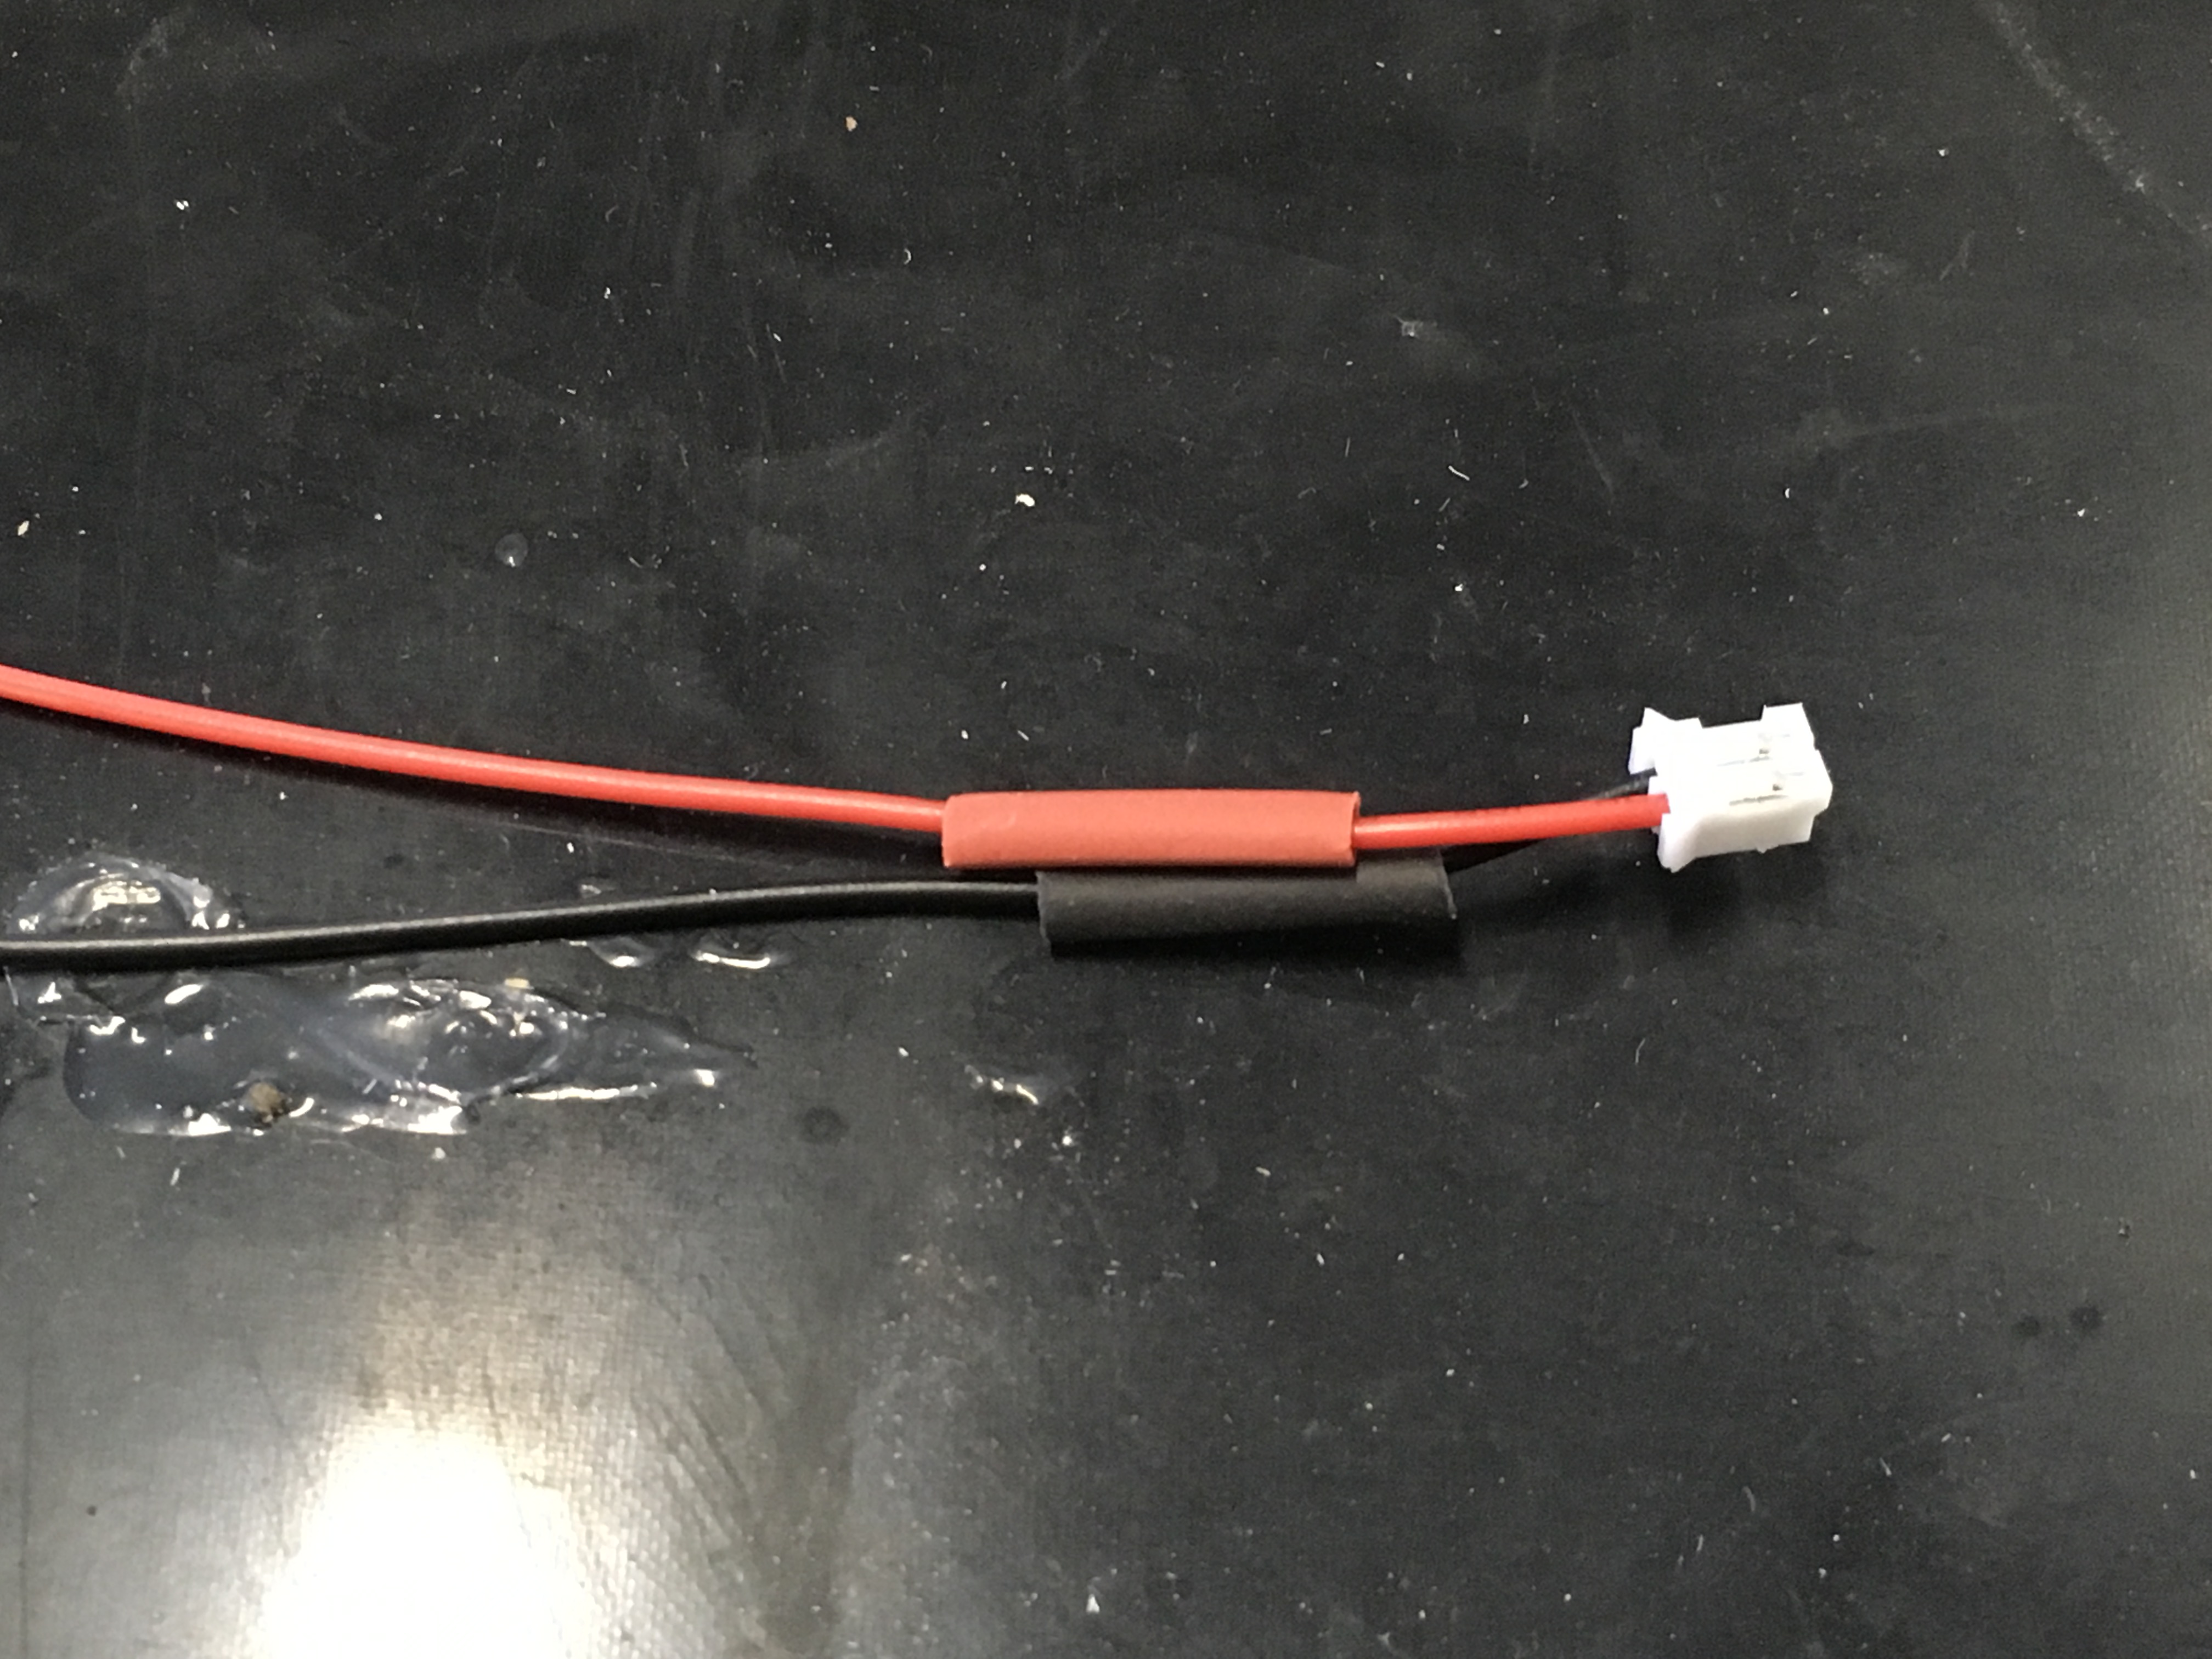
Fit the battery
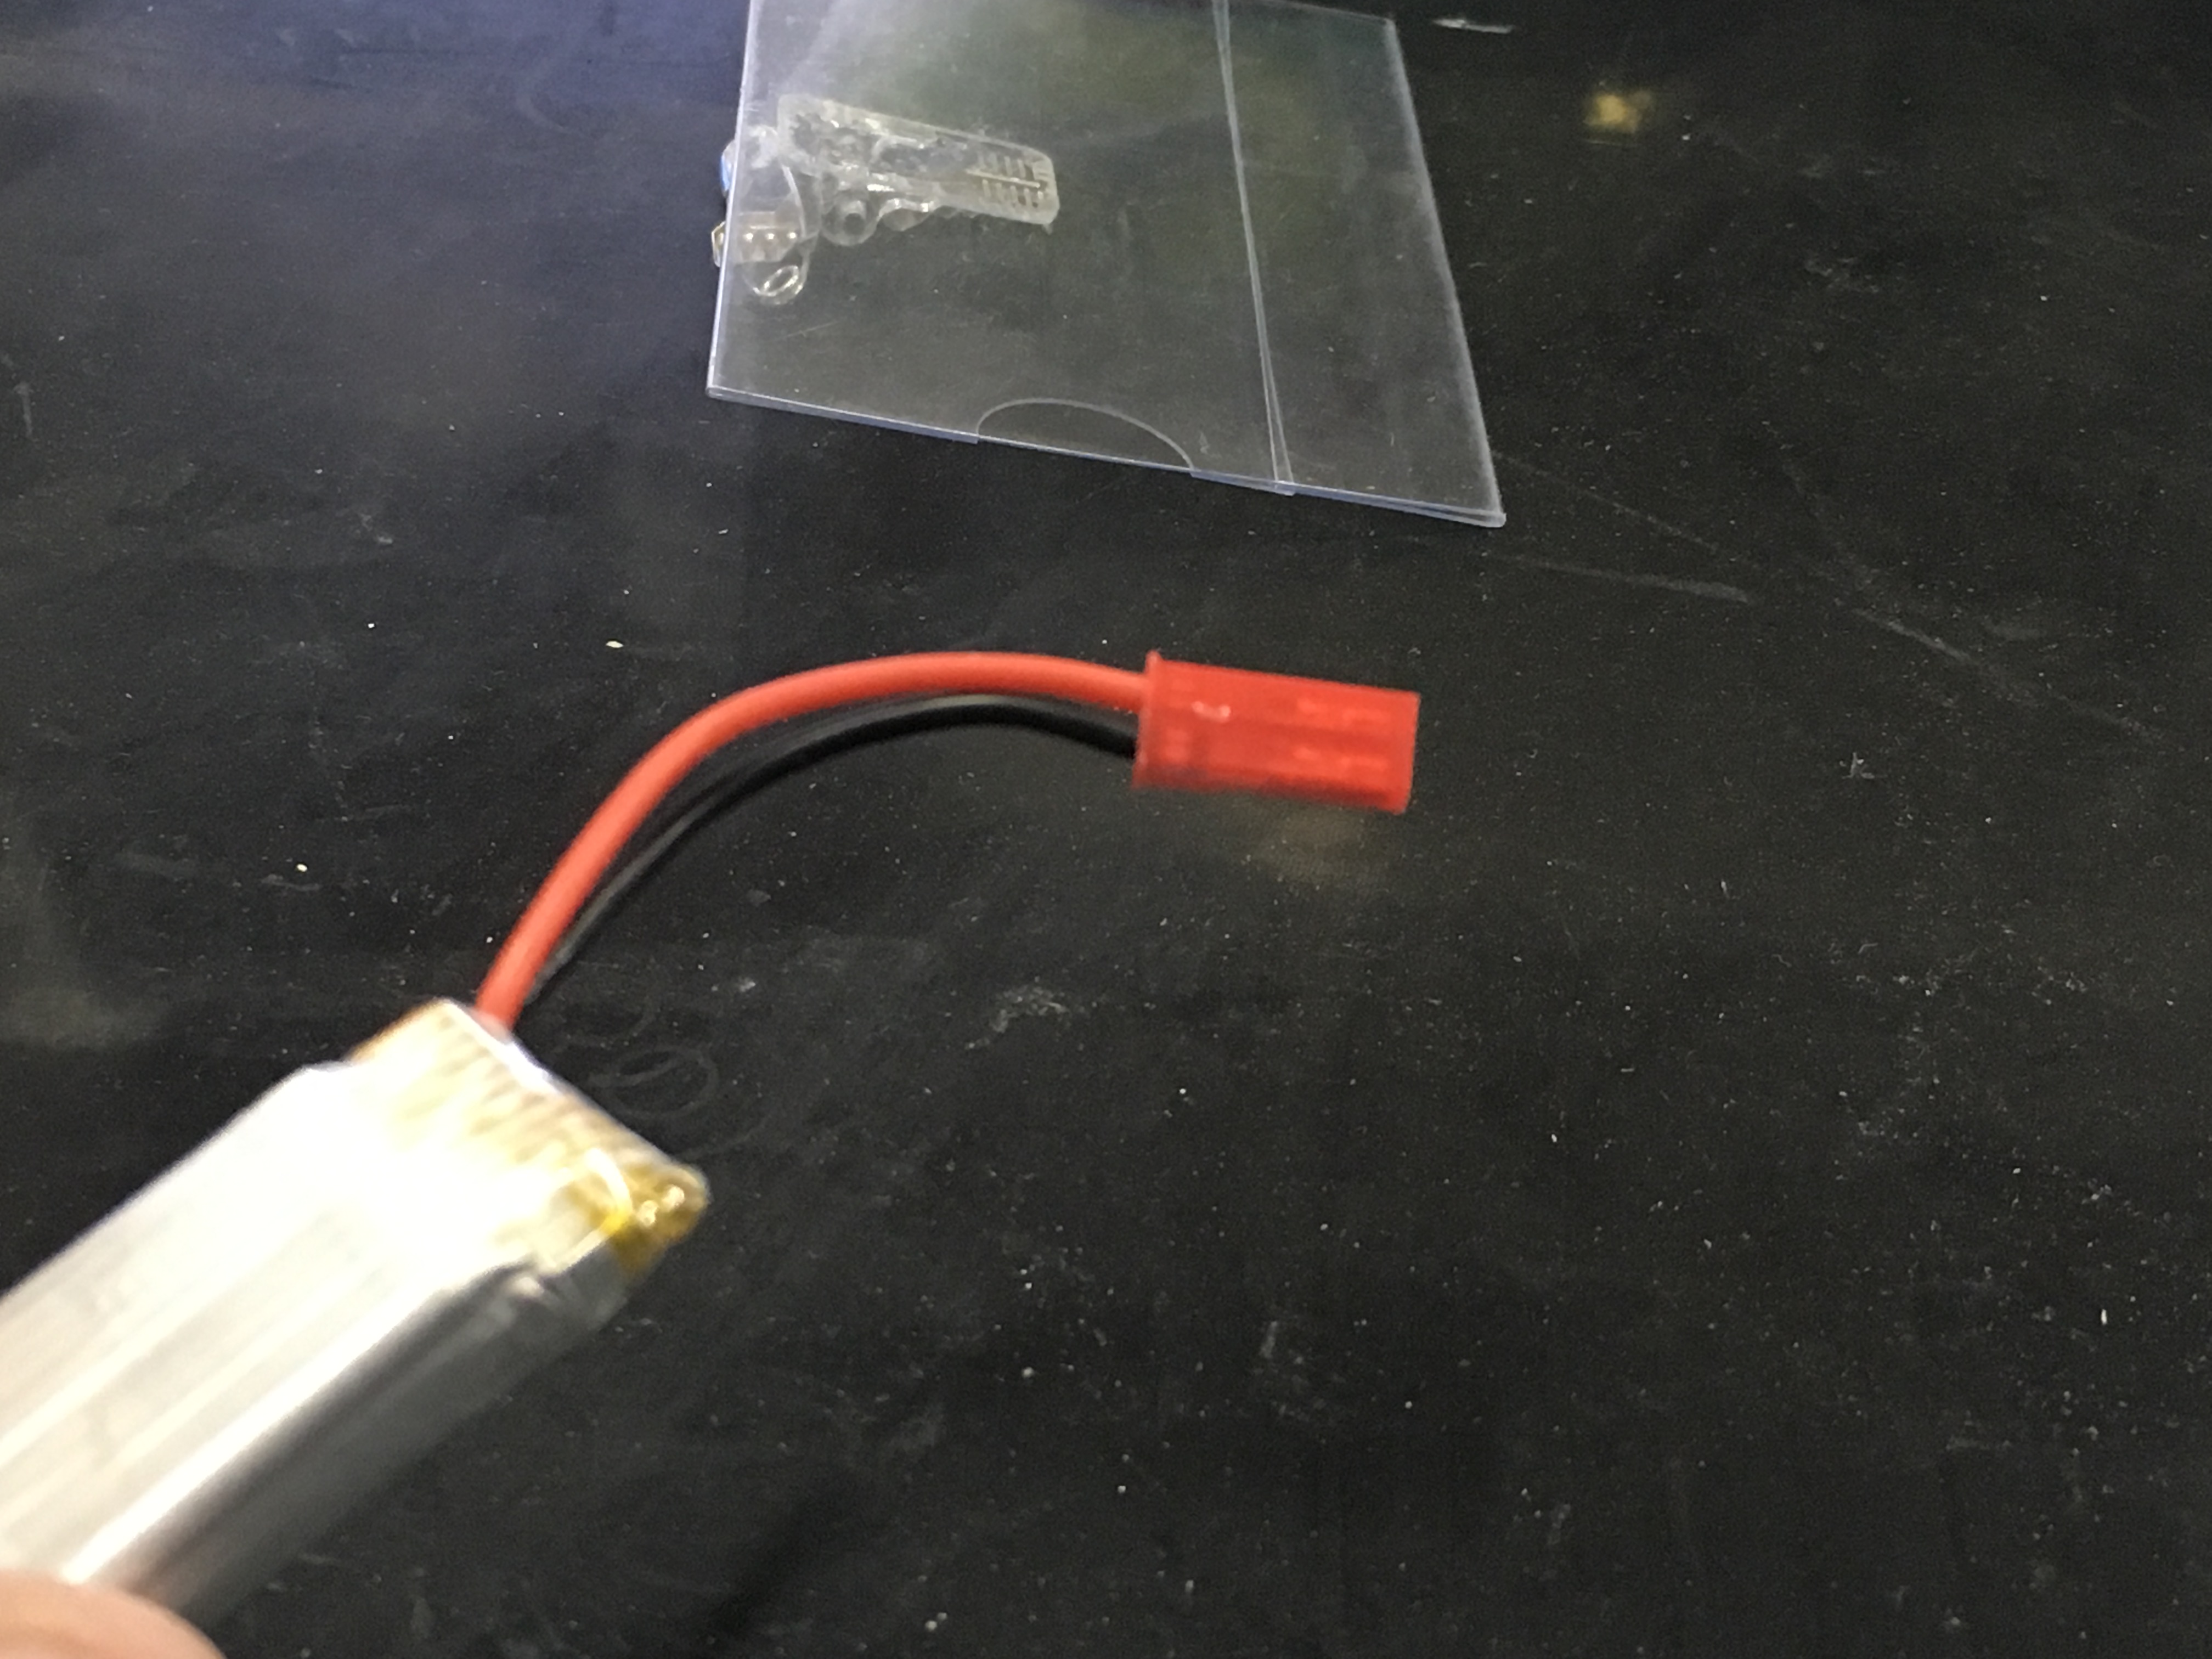
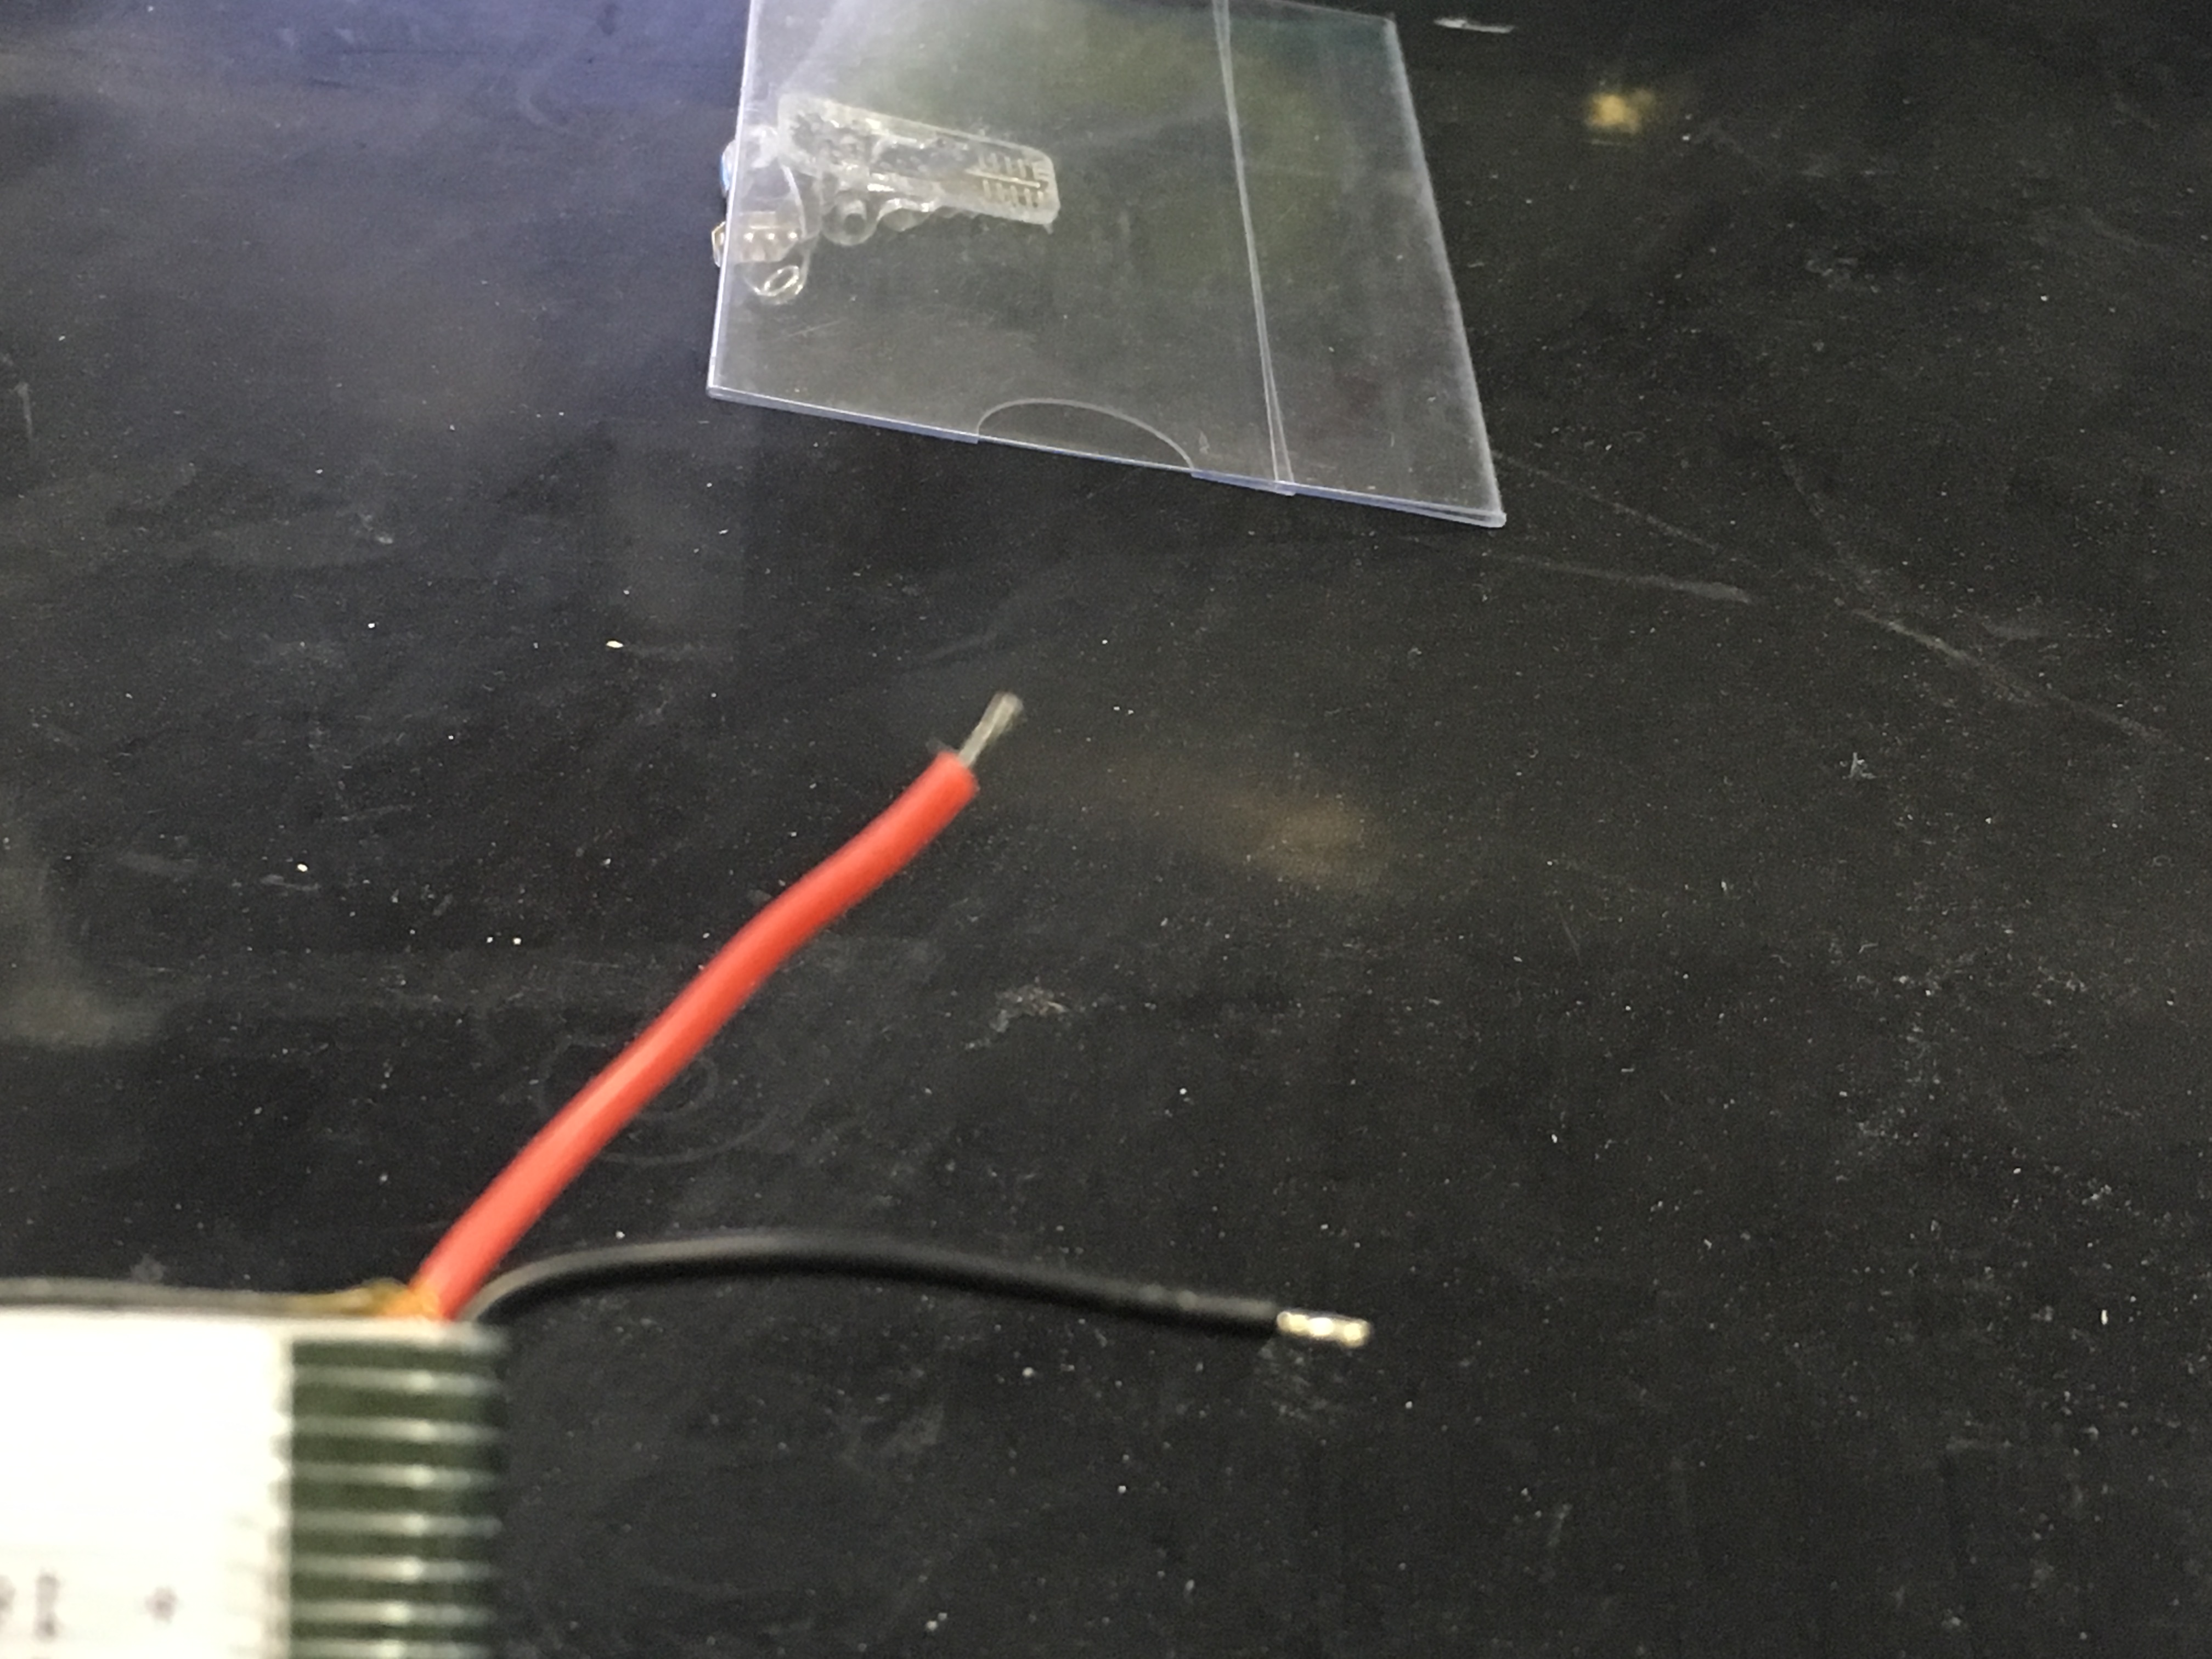
Cut the plug off the battery, close to the plug. Cut each wire individually, not both at once.
Place a 1cm length of heat-shrink tube over each wire of the white battery plug. Strip the wires of the battery and battery plug, exposing approximately 6mm of copper.
Twist the wires together (black to black, red to red). Heat the joint with a soldering iron, and apply some solder. After the solder has cooled, slide the heat-shrink tube over the joint and shrink it with a heat gun.
Check the wires on the battery plug. Make sure black will go to negative (-) and red to positive (+). You may have to swap the pins over on the battery plug (you will need a scalpel, seek help).
Plug in the battery. Plug in a micro-USB cable and observe the red light. The battery board lights up red when charging, and green when full.
Fit the solar panel
Cut the socket off the solar panel. Pass the wire through the hole in your box. Strip the wire and solder to the micro-USB plug.
Set up blynk
- open an account
- create a new app
- configure widgets
- sensor enable
- temperature display
- humidity display
- rain graph
Get familiar with Mongoose-OS
Learn about the Mos tool.
Follow the Javascript quick-start example and install the demo app which will make your device blink.
Program the brain module
- Download the iotbne-weather project from github
- Copy the project into your mongoose-OS apps folder
- Open the project in the project view
- Install the project to your device
- Add your personal settings
- blynk app id
- wifi details (you’ll need to change these when you get home)
Fit the rain module
The rain sensor has a detection plate and an adjustment module. The detection plate goes outside your box, with the wire passing through the hole at the opposite end to the solar panel’s wire.
Place a piece of clear heat-shrink tubing over the adjustment module to ensure it doesn’t contact any of the other metal parts.
Test the temperature module
Place the temperature module atop the brain module.
Assemble the modules
Place the triple base inside the box. Secure it with a dab or two of hot-glue.
Fit the modules to the sockets, being careful to orient each module correctly (pin marked tx to socket marked tx, etc). It does not matter which module goes in which socket.
Connect the rain sensor to the brain module.
Choose how you will deploy your solar panel and sensor
The rain sensor panel and solar panel can be connected to the case with hinged clips. You can also use longer cables and place the sensors elsewhere. For example you may choose to put the box in a sheltered location (or close to power) and then place the sensors under the open sky.
To construct a self-contained unit, fit each clip to the case, then insert the panels into the clips.
When not in use, the rain sensor is concealed beneath the solar panel. When in use, both are folded out to point skyward.